Monthly Archives: November 2022

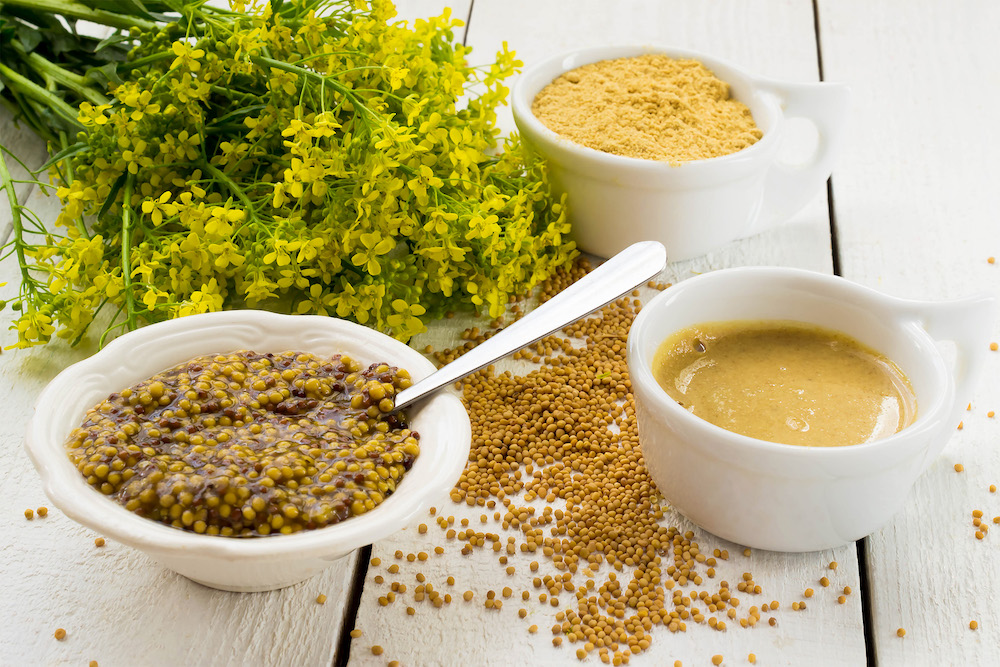
Make Your OWN Prepared Mustard!

Prepared mustard.

It’s in nearly every fridge or pantry in the modern world and used in, or on, thousands of dishes ranging from the classic and iconic, to today’s contemporary recipes.

The list is simply exhausting!

Salad dressings, sauces, deviled eggs, potato salad, beef, lamb, pork, seafood, and of course, on our beloved hot dogs.

Yet as ubiquitous as prepared mustard around the world, it’s a recipe rarely made in our homes, or, in professional kitchens?

Why is that?

Because it’s beyond simple to make.

Mustard surely gets enough love otherwise. In fact, there are numerous festivals all around the world extolling mustard’s culinary virtues.

From Napa Valley, California to Berlin, Germany, mustard festivals are held each year and feature famous dozens of contests.

Famous Chefs at these events offer demonstrations, and there are numerous opportunities to feast on fabulous dishes using mustard in every imaginable way.

How is prepared mustard made?
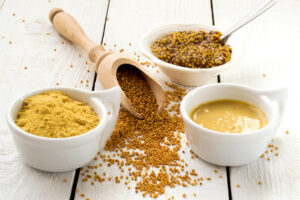
Let’s look at how a prepared mustard recipe is made. Maybe, along the way, you’ll discover that it’s something you’d really enjoy making in your kitchen.

“House” prepared mustard is a pretty impressive (and very simple) way to add a distinctive and artisanal flair to your menus.

The basic ingredients needed to make mustard can be as simple as mustard and a liquid. The method however, can done in one of 2 ways.

  • Soak the whole seeds in the liquid, then blend or grind the mustard seeds into a paste. Or,
  • Grind the seeds to the desired fineness BEFORE adding your liquids. The additional grinding afterwards isn’t necessary.

Chemistry in action.

There’s a lot of chemical stuff going on when you make mustard.

The “heat, or bite” that comes from prepared mustard is within the seeds, and then it reacts with the liquids. So, breaking the seeds open is a part of the process.

It’s already been done for you with powdered mustard but it’s something you must do if you’re also using whole seeds.

Spicy or mild?

Temperature “heat”, (even hot water) negates much of the chemical reaction that give you the “spicey heat” component in prepared mustards.

If you want a mustard with more of a “bite” you should use cold water.

Warm water also works, but gives you more of a “mild” mustard reaction and flavor.

Using water alone, generally only gives you a few days (or less) of great mustard flavor. This can, (and should) be “stabilized”, by adding an acid (such as vinegar, lemon juice or horseradish) and some salt.

It also gives you that traditional taste, that most people love and accept.

Which seeds?

Three seeds used to make mustards, they are: white, brown and black.

The white mustard plant, actually makes the mustard seeds that we call yellow, and they make a very pale-yellow powder, not the bright yellow you see in the bottle. They also make a rather mild mustard while, brown and black mustard, are a bit more “robust” in flavor.

The yellow “salad” mustard you see in your grocery store is typically made with the yellow seeds from the white mustard plant with turmeric spice added for color.

The ingredient statement on a bottle of Heinz mustard reads: DISTILLED WHITE VINEGAR, MUSTARD SEED, WATER, SALT, TURMERIC, NATURAL FLAVOR AND SPICES.

Brown mustard seeds are found in many premium prepared mustards including the popular Grey Poupon brand.

Black mustard seeds (called rai) are the most pungent and the least common seed to be found in American mustards but they are popular in Southern Indian cuisines.

Many people who enjoy making prepared mustards for their kitchen prefer to use at least 2 mustard seed varieties to create a more “complex” flavor.

A common combination is a hand or machine ground, brown seed, with a white (or yellow mustard powder added as a base).
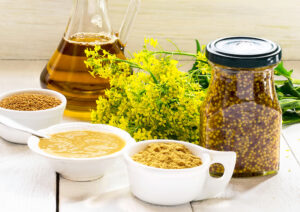
Making your prepared mustard.

Since making a prepared mustard is rather easy, try making a batch using this recipe. We think you’ll agree that adding your own house-made mustard to your culinary repertoire might just plant the “seed” for many great recipe ideas.

We’ll use method number 2 with brown mustard seeds and yellow mustard powder.

Simple Prepared Mustard

Makes about 2 cups

½  cup brown mustard seeds

1  cup ground yellow mustard powder

1 tablespoon salt

2 tsp ground turmeric (optional)

2 tablespoons honey or brown sugar (optional)

1  cup cold water

¼ Cup + 1 tablespoon apple cider or white wine vinegar

  1. Grind the whole mustard seeds for a few seconds in a spice grinder, or by hand with a mortar and pestle. Leave the seeds only coarsely ground to give the final prepared mustard some whole seed identity.
  2. Add the ground seeds into a non-reactive (Stainless steel or glass) mixing bowl and add the salt and mustard powder. If you choose to add the turmeric and sweetener, add that as well.
  3. Pour in the water, then mix together well. When everything is incorporated, let this rest for at least 15 minutes, then add the vinegar.
  4. Pour into a glass or plastic container and store in the fridge.
  5. Your mustard will initially seem thin, but fear not, as the liquids are absorbed by the mustard, it will thicken up in a day’s time.

Perhaps the hardest part of this recipe is waiting for the mustard to fully mature, which takes at least 2 days.

You’ll be tempted to taste it right away, even the next day, but fair warning, you’ll likely be disappointed because it will taste a bit bitter as the vinegar will just be beginning its to do its transformational “mellowing”.

Having said that, if it’s your first go at it, give it a try right away, and then a few days later. You’ll definitely notice the difference!

Once you’ve made your first batch, you may want to make some tweaks to suit your own personal tastes, or to fit a particular menu item you’ve created.

Among the things you can “experiment with” are:
  • Changing the mustard seeds to powder ratio.
  • Using beer or white wine as all or part of the water
  • Changing the sweetener
  • Adding some “heat”…chopped chiles or horseradish.
  • Adding chopped herbs (tarragon is a very popular option)

Your finished mustard, if stored properly under refrigeration, can last up to a year. Even longer if you process it as you would any canning technique.

Of course, you’ll want to use a great source for your mustard seeds which is why so many Chefs buy their mustard seeds from the Red Goose Spice Company.

If your goal is to eventually make larger batches of mustard, we sell our mustard seeds in any size quantity that suits your seed needs.Prepared 

Braising vs. Stewing, What’s the Difference?

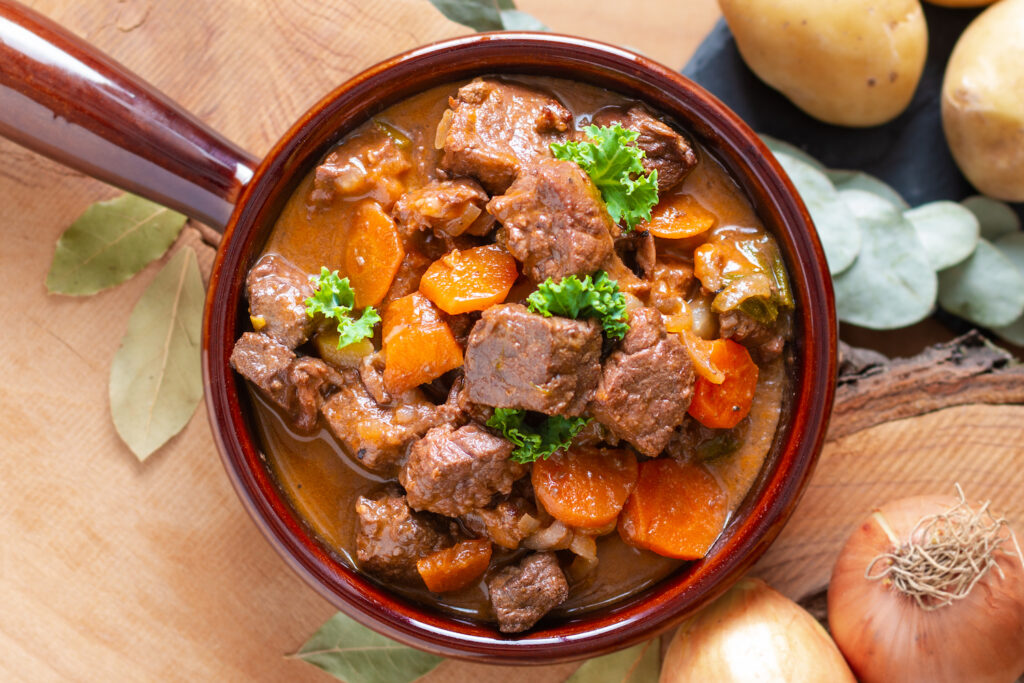
Call it stew or call it a pot roast, either way, the method used to cook this delicious entrée is called braising.

This simple cooking method has been around for centuries and has been adapted by many cultures to prepare some of their signature dishes such as; Beef Burgundy / Bourguignonne in France, Irish Stew, Carne Guisada in Spain and the Caribbean, and Birria in Mexico, just to name a few.

One thing that they all have in common, is that it uses “less tender” cuts of meat and “tenderizes” them by cooking with long, slow moist heat.

Often, a broth and vegetables are added for additional color, flavor and texture.

The distinction between a stew and pot roast is pretty blurred.

About the only “real” differences between these 2 dishes are that a stew uses smaller pieces of meat (usually 1 to 2 inches) versus a pot roast which uses a larger, 1 to 3 pound (or more) whole piece of meat.

The other difference is that stews generally use quite a bit more liquid, resulting in a finished dish that’s pretty much a hearty soup.

Whichever variation you prefer, the basic outcome is that this long, slow, moist cooking method slowly breaks down the connective tissues and collagen in the meat, resulting not only in a tender dish, but a delicious broth which you can thicken at the end.

A poor man’s meal? Not at all.

While stews and pot roasts were often thought of as a “working class” meal, this cooking method has recently been resurrected by some of the world’s most famous Chefs and versions of it have appeared on their very expensive menus to rave reviews.

Braising basics.

Braising is easy, but the success of its outcome is dependent on a few important things, the most important being the cut of meat you start with.

The most commonly braised meats are beef and veal. And the most popular cuts come from the Chuck, Bottom Round, Brisket, Flank, Short Ribs and Shank (Veal).

Vintage poster with a cow and its butchering scheme for restaurant or menu

Many people are surprised that the worst cuts of meat for braising are actually the most expensive and tender ones.

Cuts such as the rib, loin & tenderloin are very poor choices for braising.

Why?

First of all, they’re already tender so there is no reason to braise them.

Second, their muscle fiber is so fine, braising would only turn them into a shredded “beef spaghetti”.

Lastly, quite honestly, the less tender cuts have more flavor.

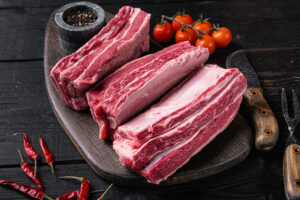
One of THE most popular cuts of beef for braising is short ribs. Ones that are both meaty and well marbled with evenly specs of fat throughout the meat.

There are so many recipes used in braising that we could go on forever with recipes that use wine, beer, sake, cider, tomato puree and fruit juices such as pineapple and cherry.

They’re all excellent in their own right.

Today, we’d like to share with you a braised beef recipe that’s one of our favorites.

You may like it SO much that you’ll be tempted to make a large batch of this recipe and freeze (yes freeze) portions of the braised beef, together with some of the sauce, so I can enjoy it more often.

What makes memorable short ribs?

Here’s are some criteria:

  1. Choose the right ribs. Meaty but with great specks of fat marbling throughout. Not too fatty, not too much bone.
  2. Ideally cut about 2” thick.
  3. Seared in hot oil on all sides until well caramelized to develop good color and flavor.
  4. Cooked in a VERY flavorful liquids, whether stock, wine or other. More about that later.
  5. Cooked VERY slowly (basically poached) over a long period of time (3 hours minimum) until the meat is falling off the bone tender, but not entirely “bleached” of all of its fat and natural beef flavor.
  6. Served with a sauce (made from the cooking liquid) that’s not too thick and seasoned just ever so slightly. It should be medium-dark in color, and almost “sticky” to the lips coming from the gelatin that’s naturally in the rib bones. And lastly, so savory, that you’ll enjoy it as much as the ribs themselves.

If you follow these basic guidelines, it will result in ribs that are neither dry, stringy or chewy.

Contrary to the usual rule of thumb that less tender cuts of meat are less expensive, pound per pound, short ribs (once braised and removed from the bone), are actually more expensive to make than beef tenderloin.

That alone will definitely change your notion of short ribs being a poor man’s meal!

Have we got a GREAT braising recipe for you!

Before you make this recipe, keep in mind that you really should have a heavy-gauged saucepot to sear, then to cook your beef ribs in.

It should also have a rather tight-fitting lid.

Second, while you CAN use a pressure cooker to shorten the cooking time, we prefer the longer, slower cooking method of braising in a covered pot, not a pressure cooker. This will develop more flavors in the sauce, and maintain the integrity of the meat shapes.

For the recipe below, here are a few additional tips:

  • Purchase a low-sodium soy sauce if possible.
  • Kitchen Basics brand beef stock works well.
  • Cut your veggies into large 1” pieces. Cutting them smaller will allow too much vegetable flavor into the sauce.
  • Any honey will do.

Soy & Honey Braised Short Ribs

Serves 3 to 4 persons

4 pounds  beef short ribs

2 tablespoons  vegetable oil

1 cup  white onion, cut 1” dice

½ cup  carrot, cut 1” dice

½ cup  celery, cut 1″ dice

1 each  garlic clove, chopped

1 ½ cups strong beef broth / stock

¼ cup  honey

½ cup  soy sauce, low sodium

2 tablespoons. Kitchen Bouquet® liquid seasoning (optional)

Pinch  dry oregano, crushed

Pinch  dry basil

To taste  salt and pepper

1 cup  rutabaga, cut in 1” pieces

1 cup  carrots, cut in 1” pieces

1 cup  red skin potatoes, cut in 1” pieces

As desired        Roux (cook together over medium heat approximately 3 to 5 minutes) 3 tablespoons of  butter with 1/3 cup all-purpose flour

  1. Heat oil in a heavy bottomed sauce pot, then sear the short ribs on all sides on medium high heat, until well browned. After each rib is browned, remove them from the pot and reserve them temporarily on a plate nearby.
  2. In that same sauce pot, sauté onions, carrots, celery and garlic for a few moments to soften, then add the reserved beef ribs back to the pot.
  3. Pour the beef stock, honey and soy sauce over the beef and vegetables.
  4. Add Kitchen Bouquet® (optional) and seasonings to the liquids and cover the pan tightly with a lid.
  5. Cook in a 300 F oven (covered) for three hours or until the largest piece of meat is fork tender, being careful NOT to break apart the meat pieces.
  6. Carefully remove meat from the cooking liquids then gently trim the meat away from the rib bones and place all the meat pieces in deep-sided service dish. Cover and keep warm.
  7. Strain the resulting cooking liquids back into the saucepot and add the second set of vegetables including the potatoes. Cover and simmer until those vegetables are tender, (approximately 20 to 30 minutes).
  8. With a skimmer or slotted spoon, remove the vegetables and add them to the reserved beef rib meat in the casserole dish.
  9. Skim off ALL the resulting fat from the surface of the remaining liquid and whisk in the prepared roux a little at a time, until the liquid is JUST thickened slightly.
  10. Strain sauce once more. Adjust the sauce’s seasonings with salt and pepper and ladle the sauce over the meat and vegetables in your casserole dish.
  11. Reserve additional sauce for those who would like more sauce.
  12. *Additionally, if you love mushrooms, sear large diced white mushrooms and serve over the ribs or stir them into the sauce.