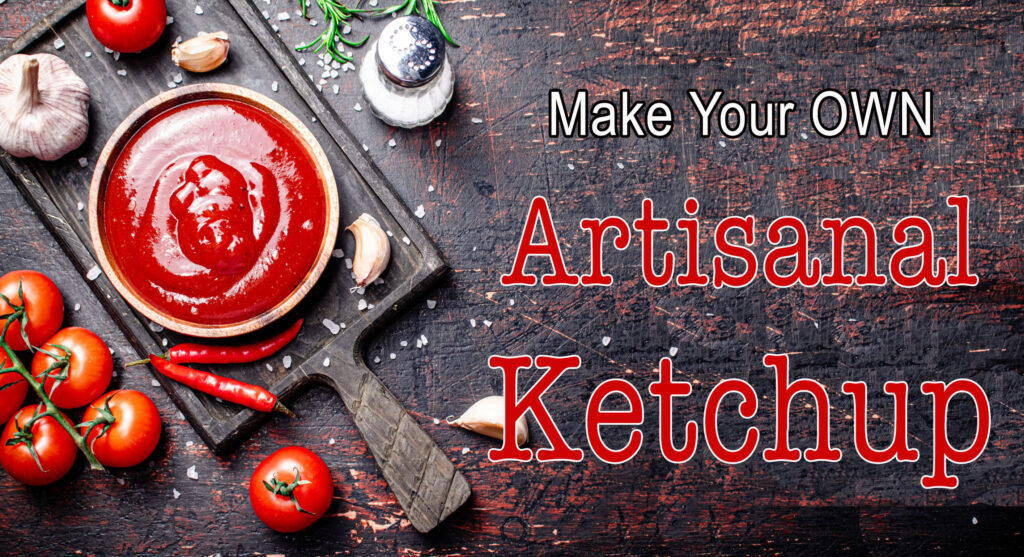
It’s that time of the year once again.
The food prognosticators have begun posting their fearless food trend “predictions” for 2025.
We’ve sampled the smorgasbord of internet word salads and are ready to serve up a good size portion of their thoughts, guarantees and, well, best guesses, as to what’s coming our way in 2025.
Our sources ranged from food centric magazines & food bloggers to food industry publications & universities.
Was there ANY consensus among these “experts” as to where the food industry is headed in this next year?
Yep…
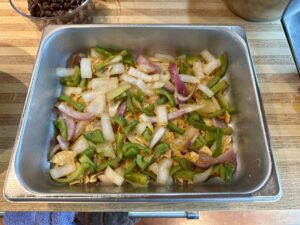
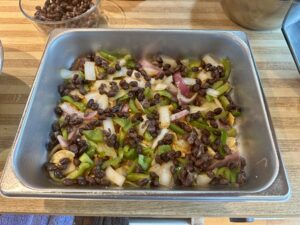
Among their nearly universal predictions are that we’ll be seeing more aquatic vegetable products such as seaweed (think nori) , mosses and agar-agar. Actually, plant-based everything and in every form and flavor, including bacon chips.
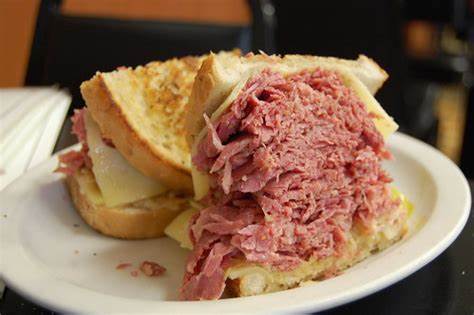
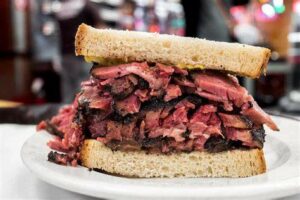
“Regenerative” is a buzz words as well, not just in agriculture, but also meats of ancestral origin, such as ground venison and bison.
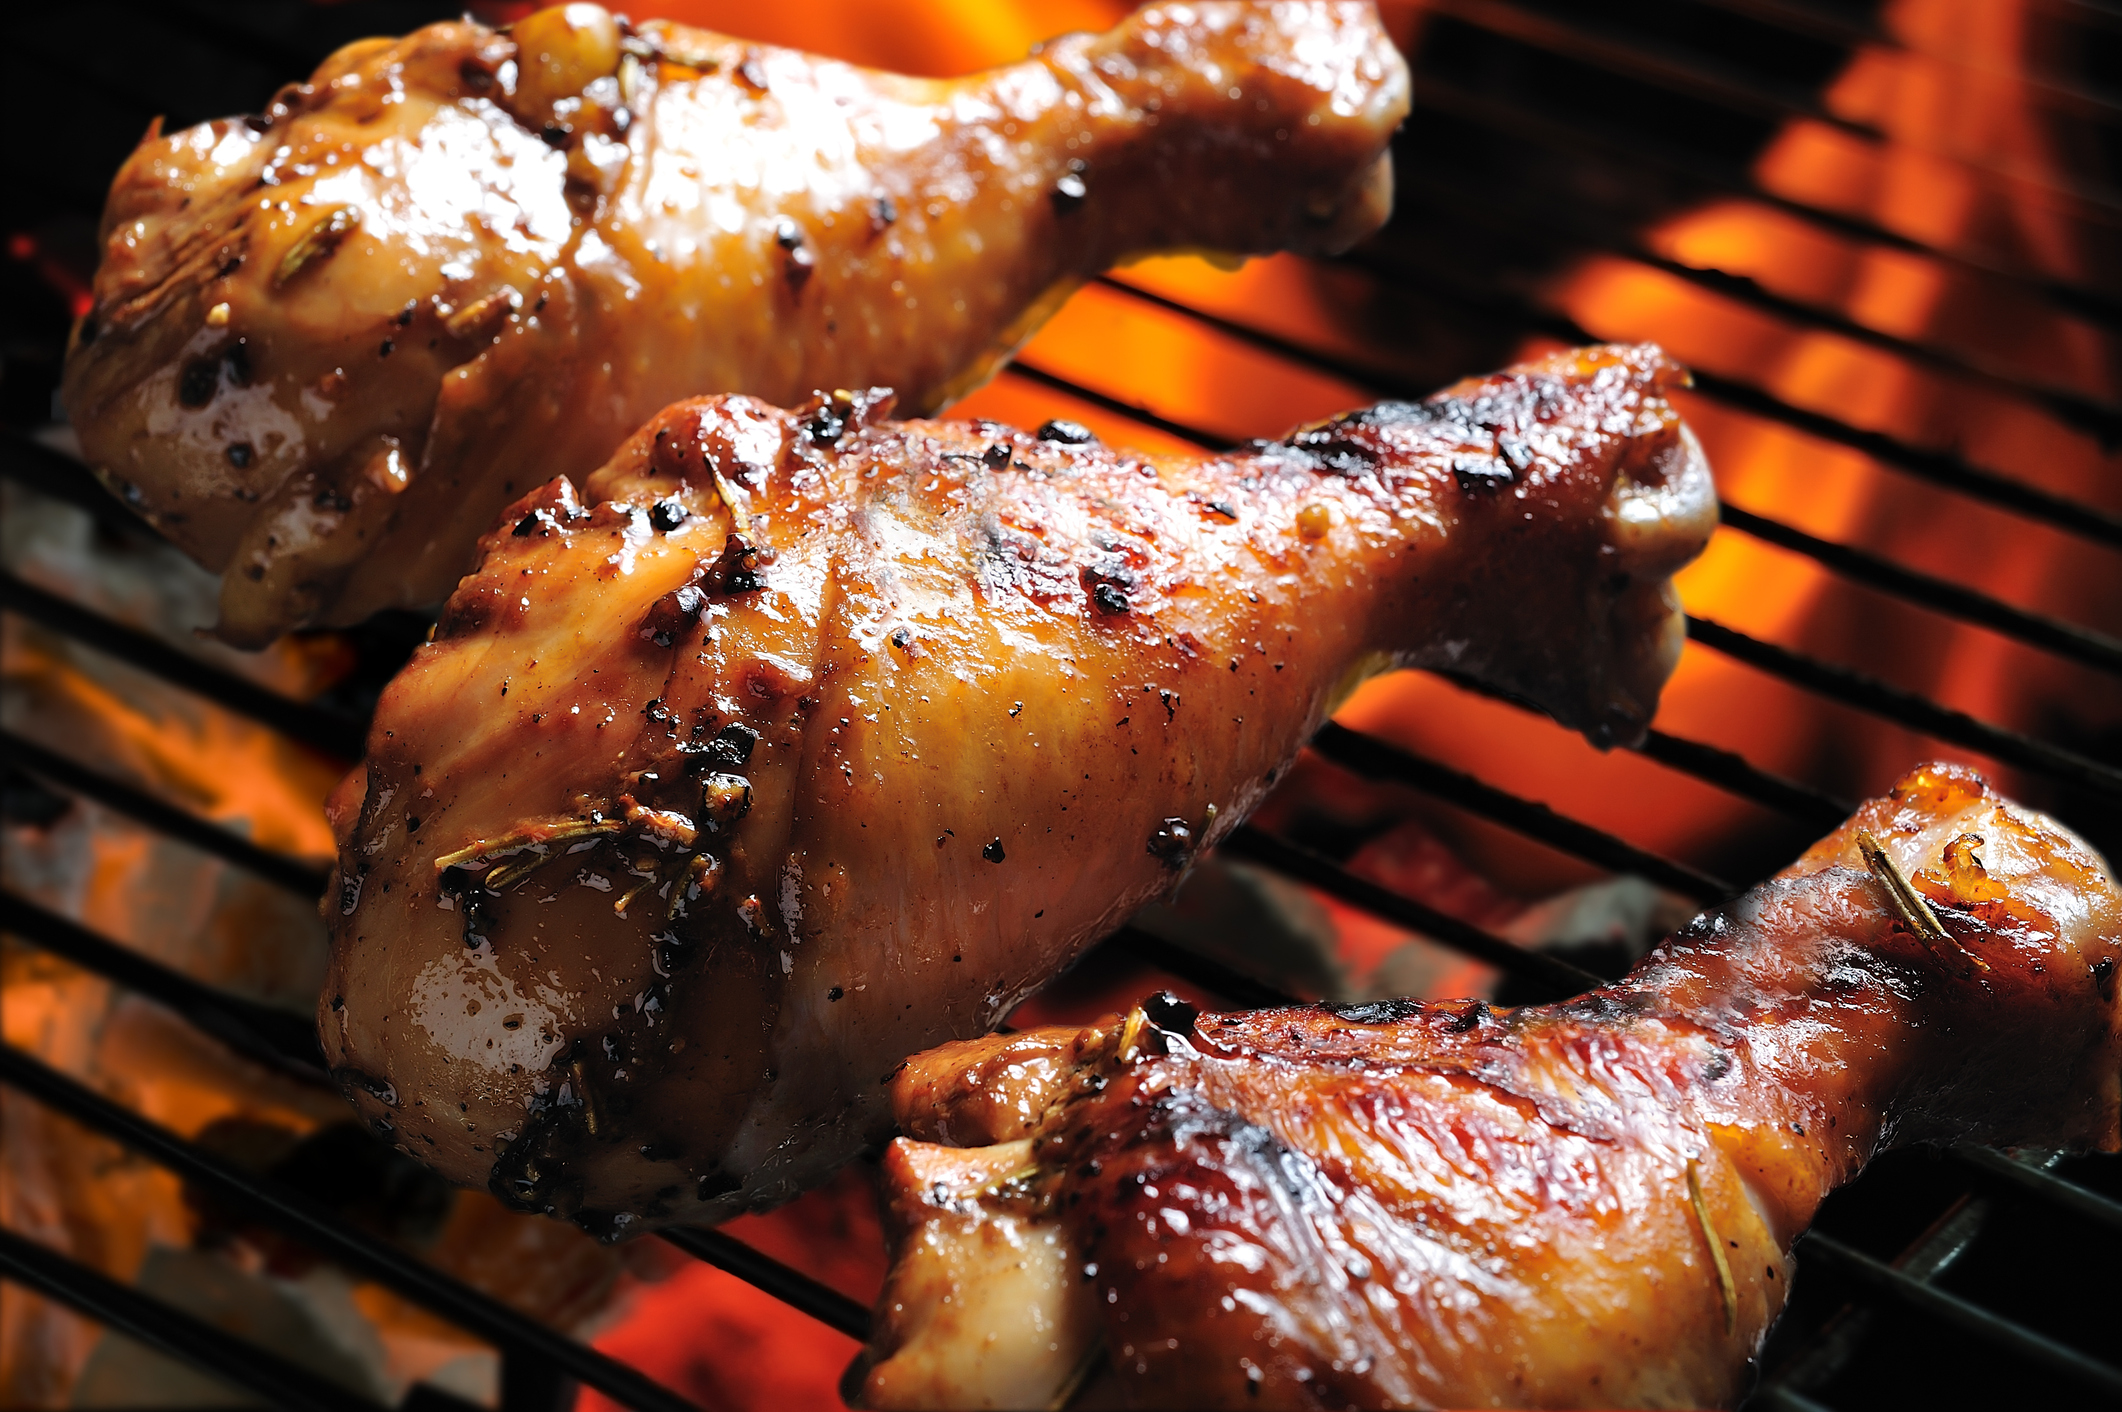
And you might want to think about stocking up on the Pepto Bismol because you’re going to need it. Get ready for even more heat, and more bold spices in this coming year.
On the “kinder” side, we can also look forward to more health-oriented foods to fit our individual diets and health goals. Particularly, in beverages.
Ok, so, what did we find?
Here are some of the “nuggets” among the 11 we sampled.

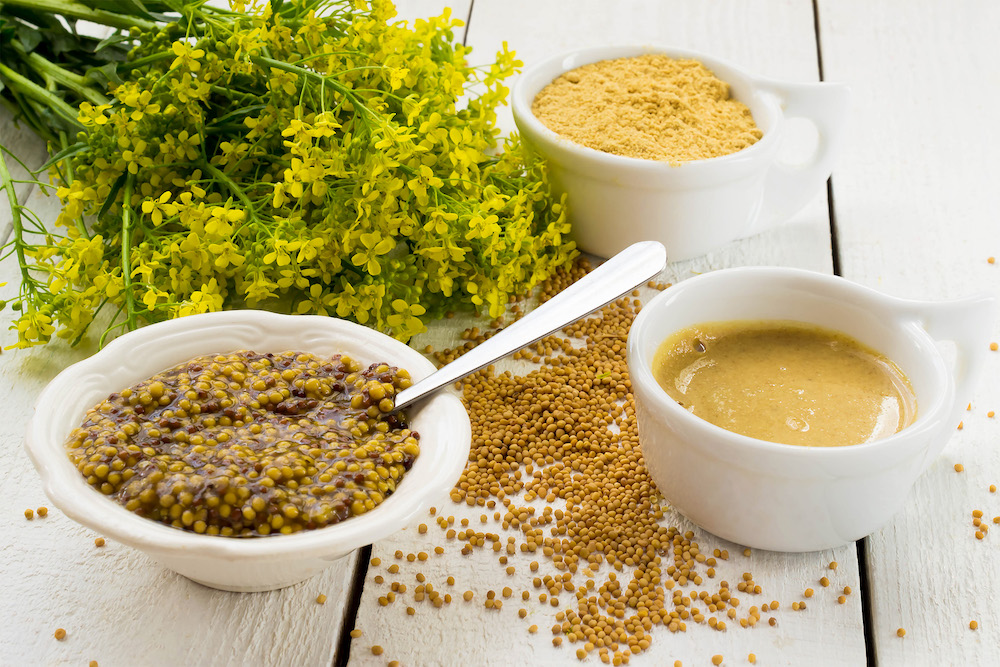
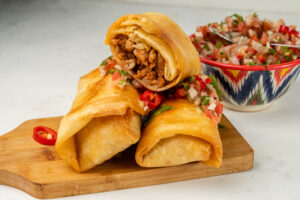
- TouchBistro 10 New Food Trends: The Top Trends for 2025 By Dana Krook TouchBistro comes out of the gate with its strong predictions for what we can expect to see in 2025. Among them are: Tamarind with its sweet & sourness, will be a very popular ingredient this year. Mushrooms will be another addition to meat alternatives. “Old is New” as soups and stews make a resurgence. The flavor or flowers (think lavender and violet) will be popular. Internationally flavored sandwiches, like the Argentinian “Choripan”, new milk alternatives including Macadamia milk, Charcuterie (meats) meets Seacuterie (seafood platters), and “Swicy” foods will become a 2025 trends.

- Delish Food Trends: These Predicted 2025 Food Trends Prove The Future’s Looking…Interesting? By James Lynch Delish is not only bullish on Micronesian cuisine becoming more main stream in America but that the whole world will soon become to your plate with numerous, tiny, far-flung countries contributing their native dishes and flavors to our menus. And speaking of unusual, get ready for an invasion of bugs. Specifically, crickets, which you’ll find in Chirps branded Eat Bugs Sriracha flavored Cricket Snack Chips. I’m sure you can’t wait for that one.

- Food & Wine ‘Swicy’ Foods and Doomsday Staples Are Among 2025’s Biggest Food Trend Predictions By: Melissa Kravitz Hoeffner The Scoville index is in for a meteoric rise as “Swicy” foods (sweet and spicy) are taking heat up a big knotch this upcoming year. But never fear because one of their other predictions, is that “Apocalyptic” staples such as freeze dried, pickled and canned foods will become more popular. Among the new freeze-dried items are freeze dried salsa and, wait for it….freeze dried ice cream! Ready to eat Korean foods will also become more noticed in our markets as well as Ethiopian foods with honey and seeds.

- The kitchn 10 Big Grocery Trends on Their Way in for 2025, According to Store Employees By Ali Domrongchai The kitchn, looked at the 2025 food trends from the retail perspective as they tapped into Whole Foods and its official Trends Council — made up of local foragers, regional and global buyers, and culinary experts — to gauge what’s resonating most with shoppers. You can look forward to crunchy EVERYTHING, tea infused desserts, plant-based aquatic foods, protein rich bars and powders and sourdough as well as cactus water will be popular. Sure sounds like Whole Foods.

- Cayuga Hospitality Consultants Top 15 Food Trends to Watch in 2025 By James Samson Cayuga Consultants are, among many on this list, predicting plant-based proteins being HUGE in 2025 but with an ethnic fusion twist, They believe the plant based food sector alone will reach 74.2 billion in sales by 2027 globally. Other predictions include a focus on ZERO waste cooking, health focused “superfoods” with probiotics, prebiotics and adaptogens among other supplements added. Regenerative agriculture, HYPER local food sourcing (think restaurant roof-top gardens) and experiential, multi-sensory, storytelling dining was also on their list.

- Oklahoma State University Agricultural Products Center FAPC spotlights food trends for 2025 By Hartley Silva Being an educational focused blog, OSU is believing that Social Media will be driving many of the 2025 food trends. Among them, more “Sweet Heat” flavored items such as jellies, preserves and salsas. And new, choices in “health supplements” within our “lifestyle” beverages will address many of our needs, including vitamins, minerals and probiotics.
![]()
- Cyrus Ramsey The 10 Hottest Food Trends of 2025: What’s On The Menu For The Year Ahead. By Heather Schiefelbein Nothing but agreement here. Cyrus Ramsey predicts higher levels of Capsicum in our foods with Ghost, Habanero and Calabrian chilies leading the way. “Newstalgia” menu items, bring a new twist to old Nostalgic favorites and, there’s growing consensus here…Zero-Waste and Regenerative Agriculture gaining more focus within the culinary scene.

- The Restaurant HQ 11 New Food Trends for Your Restaurant in 2025 By Jessica Hamilton More Gluten Free flour alternatives, preserved seafood in various sauces, plant based aquatic foods, Dirty Soda (thanks to the Hulu series the Secret Lives of Mormon Wives), turmeric infused beverages and, yes, we’ll still be seeing more dill pickle flavored things, including pizza.

- Granularity 25 Food Trends for 2025 Granularity is also on the plant-based protein bandwagon with the exception that they are predicting it to introduced into more beverages. The new craze of Tamarindo added to alcohol beverages (such as vodka) will also be popular. Among other 2025 predictions are: Mukbang (a foamy fountain of fondue fun), spicy food chips, Miyazaki Mango, a unique tasting mango will be a hit, wax candy (for those who can remember the 60’s, it was in every penny candy store), and Bocconcini cheese, a fresh mozzarella cheese with a delicate creaminess.

- Innova Market Insights Top Ten Food and Beverage Trends 2025 Innova dived deep into the many, NEW, “health-focused” products coming our way in the new year. They see personalized, precision focused wellness foods and beverages with wildly inventive “fusion” flavors allowing 2025 food customers to “Flourish From Within”….cute.

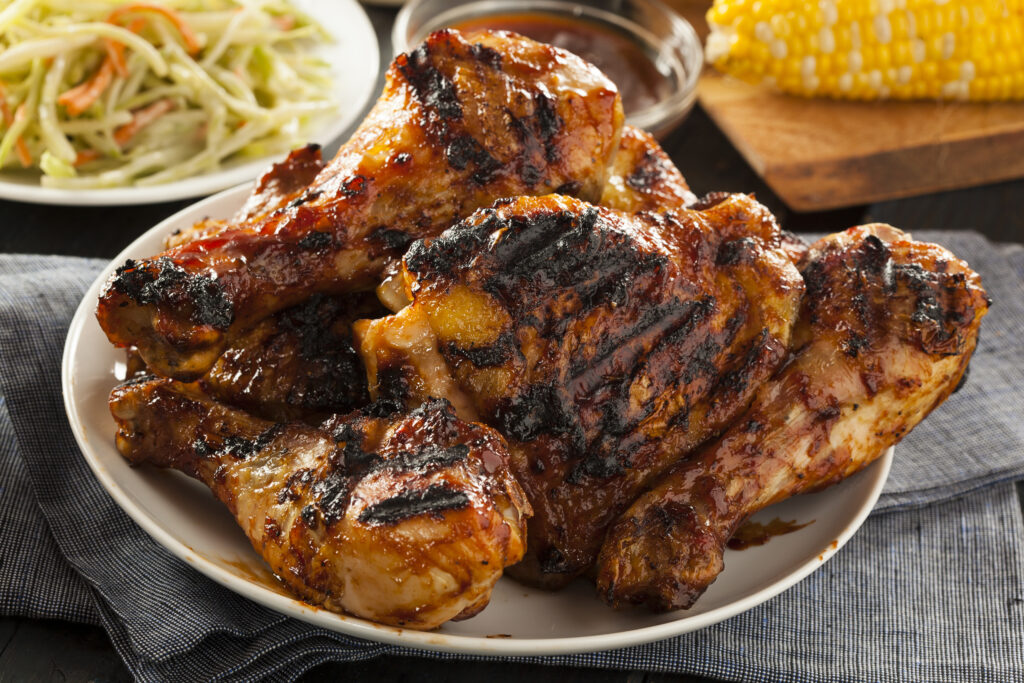
- Kerry Future Bites: 2025 Food and Beverage Taste Trends Energizing the Industry By Soumya Nair Kerry believes that the 2025 Flavors, ingredients and cuisines to watch are: Garam masala, jollof, calabrese, adobo, fried chicken, regional BBQ, miso, tahini, cocktail and tea starter kits. They’re also big on regenerative agriculture and ZERO waste cooking techniques.