Yearly Archives: 2024

Make Your Own Artisanal Ketchup

Whether you call it Ketchup, or Catsup, this sweet and tangy condiment has become a culinary staple, and has found its way onto nearly every condiment stand from casual family restaurants, to fast food franchises, mall food courts, in ball parks and of course, in every grocery store from coast to coast.

And you can bet, that it’s also in nearly every pantry or fridge in America.

Yet, unlike many dishes that we enjoy while dining out, while also making our own versions of it in our kitchens, ketchup, (and we can say the same for mustard), is one food/condiment, that Chefs rarely make.

There are a couple of good reasons for this.

  1. Some Chefs, / kitchens, go through a lot of it. Not only as a straight up condiment, but as an ingredient in other recipes.
  2. Seriously, it’s hard to beat Heinz as a recognized brand, although many manufactures have created some pretty tasty ketchups of their own.
  3. Time, as in labor.

All that said, there is something to be said for the growing trend for authentic, Artisanal food products made by talented Chefs.

An example of this is Charcuterie, and quite often, Chefs go even one step further, by serving them with house made chutneys, jams or mustards.

An Artisanal ketchup might be looked at in that same way, and perhaps something offered only for signature grilled burgers.

Making your own ketchup gives you the opportunity for real bragging rights, if done well, and something which can showcase your individuality as much as any other signature dish on your menu.

Start small.

There are a number of opportunities for creative expression when making your own ketchup. They include:

  • Using fresh ripe tomatoes vs / tomato paste (or both)

  • Choice of sweeteners (Cane sugar, brown sugar, corn syrup or honey)
  • Choice of vinegar (typically cider or distilled)
  • Spices (onion and garlic are standard, celery salt creeps into some recipes and many “copy-cat” Heinz recipes include clove, allspice, cinnamon, ground mustard and cayenne pepper.
  • Thickeners, which range from none, to xanthan gum, cornstarch and Clear Jel.
  • And finally, the fineness of the finished puree.

As a result of all of these wonderful expressive options, the best course chosen by many Chefs, is to start with many small batches, get opinions, then scale up the recipe that they like the best.

To that end, we’ll offer here, a basic recipe for you to begin with and suggestions as to the additional spices you can add to make your perfect ketchup.

NOTES:

  • This recipe uses tomato paste, this basic recipe was chosen to address the need of Chefs to minimize their labor and also, because making ketchup from fresh tomatoes requires a very ripe (fresh) tomato which make preparing a larger batch increasingly problematic on a regular basis. It also requires passing the cooked tomatoes through a food mill or grinder to omit seeds and pulp.
  • Depending on how long you cook / reduce your ketchup recipe, it may be entirely unnecessary to add a thickener. As thickeners go, the better alternative, once the product has cooled, is xanthan gum, if needed. We have therefore not included an amount in our recipe.

Basic Ketchup Recipe

Makes about 3 cups

THE BASE

1 ½ cup            Tomato Paste

1 cup                 Light Corn Syrup or Honey (or a mixture)

1 Cup                Vinegar (cider, distilled or a mixture)

½  cup               Water

2 TBSP             Light Brown Sugar

2 TBSP             Kosher or Sea Salt

½ tsp                 Onion Powder

¼ tsp                 Garlic Powder

THE ADDITIONAL SPICES

½ tsp                 Celery Seed or Celery Salt (halve the above amount of Kosher Salt if Celery Salt is used.

½ tsp                 Ground Mustard

1/8 tsp               Ground Cloves

1/8 tsp               Ground Allspice

1/8 tsp               Cayenne Pepper

As Needed       Thickener (See Options)


Method:

  1. Into a medium sauce pan set over medium heat, add all of the ingredients.
  2. Stir or whisk until all ingredients are well incorporated and the mixture looks smooth.
  3. Once the ketchup comes to a boil, reduce the heat to a simmer and stir often.
  4. Allow to simmer for 20 minutes, being careful to not let it scorch. Red Goose sells an amazing Scorch Shield which is VERY helpful.
  5. Once cooked and reduced, remove from the heat, cover and allow to cool.
  6. If thickening is needed, the last step is sprinkling a little in at a time while vigorously whisking in or while in a blender or food processor, until you get your desired thickness.
  7. Store in a tightly covered container in the refrigerator for up to 4 months.

Making Artisanal ketchup can be a very rewarding endeavor, and one that can truly differentiate your cuisine and impress your guests.

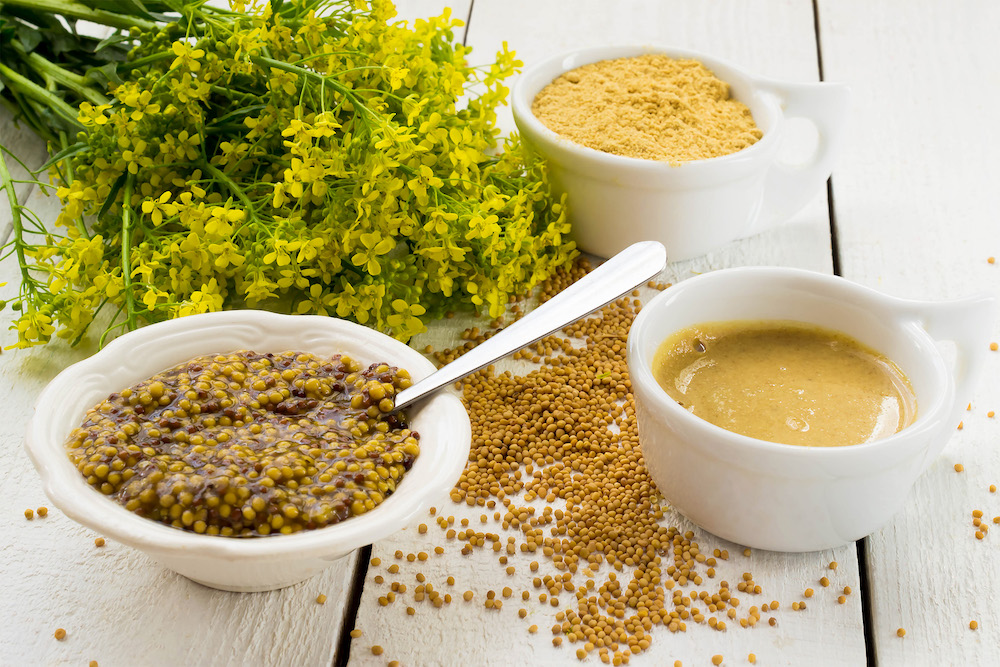
Make Your OWN Prepared Mustard!

Prepared mustard.

It’s in nearly every fridge or pantry in the modern world and used in, or on, thousands of dishes ranging from the classic and iconic, to today’s contemporary recipes.

The list is simply exhausting!

Salad dressings, sauces, deviled eggs, potato salad, beef, lamb, pork, seafood, and of course, on our beloved hot dogs.

Yet as ubiquitous as prepared mustard around the world, it’s a recipe rarely made in our homes, or, in professional kitchens?

Why is that?

Because it’s beyond simple to make.

Mustard surely gets enough love otherwise. In fact, there are numerous festivals all around the world extolling mustard’s culinary virtues.

From Napa Valley, California to Berlin, Germany, mustard festivals are held each year and feature famous dozens of contests.

Famous Chefs at these events offer demonstrations, and there are numerous opportunities to feast on fabulous dishes using mustard in every imaginable way.

How is prepared mustard made?

Let’s look at how a prepared mustard recipe is made. Maybe, along the way, you’ll discover that it’s something you’d really enjoy making in your kitchen.

“House” prepared mustard is a pretty impressive (and very simple) way to add a distinctive and artisanal flair to your menus.

The basic ingredients needed to make mustard can be as simple as mustard and a liquid. The method however, can done in one of 2 ways.

  • Soak the whole seeds in the liquid, then blend or grind the mustard seeds into a paste. Or,
  • Grind the seeds to the desired fineness BEFORE adding your liquids. The additional grinding afterwards isn’t necessary.

Chemistry in action.

There’s a lot of chemical stuff going on when you make mustard.

The “heat, or bite” that comes from prepared mustard is within the seeds, and then it reacts with the liquids. So, breaking the seeds open is a part of the process.

It’s already been done for you with powdered mustard but it’s something you must do if you’re also using whole seeds.

Spicy or mild?

Temperature “heat”, (even hot water) negates much of the chemical reaction that give you the “spicey heat” component in prepared mustards.

If you want a mustard with more of a “bite” you should use cold water.

Warm water also works, but gives you more of a “mild” mustard reaction and flavor.

Using water alone, generally only gives you a few days (or less) of great mustard flavor. This can, (and should) be “stabilized”, by adding an acid (such as vinegar, lemon juice or horseradish) and some salt.

It also gives you that traditional taste, that most people love and accept.

Which seeds?

Three seeds used to make mustards, they are: white, brown and black.

The white mustard plant, actually makes the mustard seeds that we call yellow, and they make a very pale-yellow powder, not the bright yellow you see in the bottle. They also make a rather mild mustard while, brown and black mustard, are a bit more “robust” in flavor.

The yellow “salad” mustard you see in your grocery store is typically made with the yellow seeds from the white mustard plant with turmeric spice added for color.

The ingredient statement on a bottle of Heinz mustard reads: DISTILLED WHITE VINEGAR, MUSTARD SEED, WATER, SALT, TURMERIC, NATURAL FLAVOR AND SPICES.

Brown mustard seeds are found in many premium prepared mustards including the popular Grey Poupon brand.

Black mustard seeds (called rai) are the most pungent and the least common seed to be found in American mustards but they are popular in Southern Indian cuisines.

Many people who enjoy making prepared mustards for their kitchen prefer to use at least 2 mustard seed varieties to create a more “complex” flavor.

A common combination is a hand or machine ground, brown seed, with a white (or yellow mustard powder added as a base).

Making your prepared mustard.

Since making a prepared mustard is rather easy, try making a batch using this recipe. We think you’ll agree that adding your own house-made mustard to your culinary repertoire might just plant the “seed” for many great recipe ideas.

We’ll use method number 2 with brown mustard seeds and yellow mustard powder.

Simple Prepared Mustard

Makes about 2 cups

½  cup brown mustard seeds

1  cup ground yellow mustard powder

1 tablespoon salt

2 tsp ground turmeric (optional)

2 tablespoons honey or brown sugar (optional)

1  cup cold water

¼ Cup + 1 tablespoon apple cider or white wine vinegar

  1. Grind the whole mustard seeds for a few seconds in a spice grinder, or by hand with a mortar and pestle. Leave the seeds only coarsely ground to give the final prepared mustard some whole seed identity.
  2. Add the ground seeds into a non-reactive (Stainless steel or glass) mixing bowl and add the salt and mustard powder. If you choose to add the turmeric and sweetener, add that as well.
  3. Pour in the water, then mix together well. When everything is incorporated, let this rest for at least 15 minutes, then add the vinegar.
  4. Pour into a glass or plastic container and store in the fridge.
  5. Your mustard will initially seem thin, but fear not, as the liquids are absorbed by the mustard, it will thicken up in a day’s time.

Perhaps the hardest part of this recipe is waiting for the mustard to fully mature, which takes at least 2 days.

You’ll be tempted to taste it right away, even the next day, but fair warning, you’ll likely be disappointed because it will taste a bit bitter as the vinegar will just be beginning its to do its transformational “mellowing”.

Having said that, if it’s your first go at it, give it a try right away, and then a few days later. You’ll definitely notice the difference!

Once you’ve made your first batch, you may want to make some tweaks to suit your own personal tastes, or to fit a particular menu item you’ve created.

Among the things you can “experiment with” are:
  • Changing the mustard seeds to powder ratio.
  • Using beer or white wine as all or part of the water
  • Changing the sweetener
  • Adding some “heat”…chopped chiles or horseradish.
  • Adding chopped herbs (tarragon is a very popular option)

Your finished mustard, if stored properly under refrigeration, can last up to a year. Even longer if you process it as you would any canning technique.

Of course, you’ll want to use a great source for your mustard seeds which is why so many Chefs buy their mustard seeds from the Red Goose Spice Company.

If your goal is to eventually make larger batches of mustard, we sell our mustard seeds in any size quantity that suits your seed needs.Prepared 

Spices, Spice Blends and Tips for the BEST Barbecue Chicken.

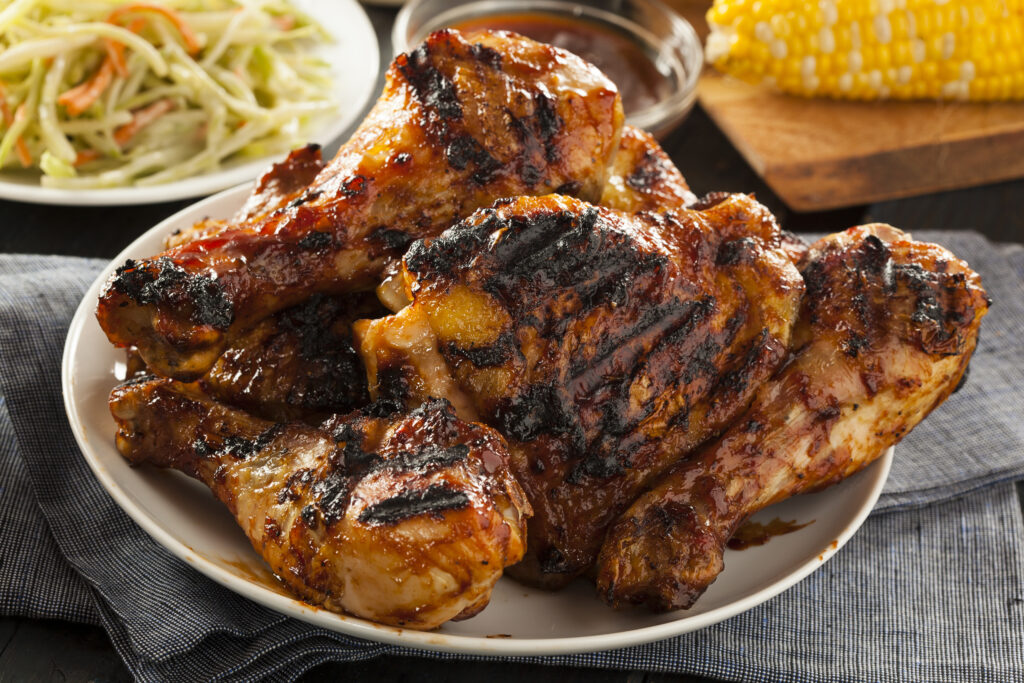
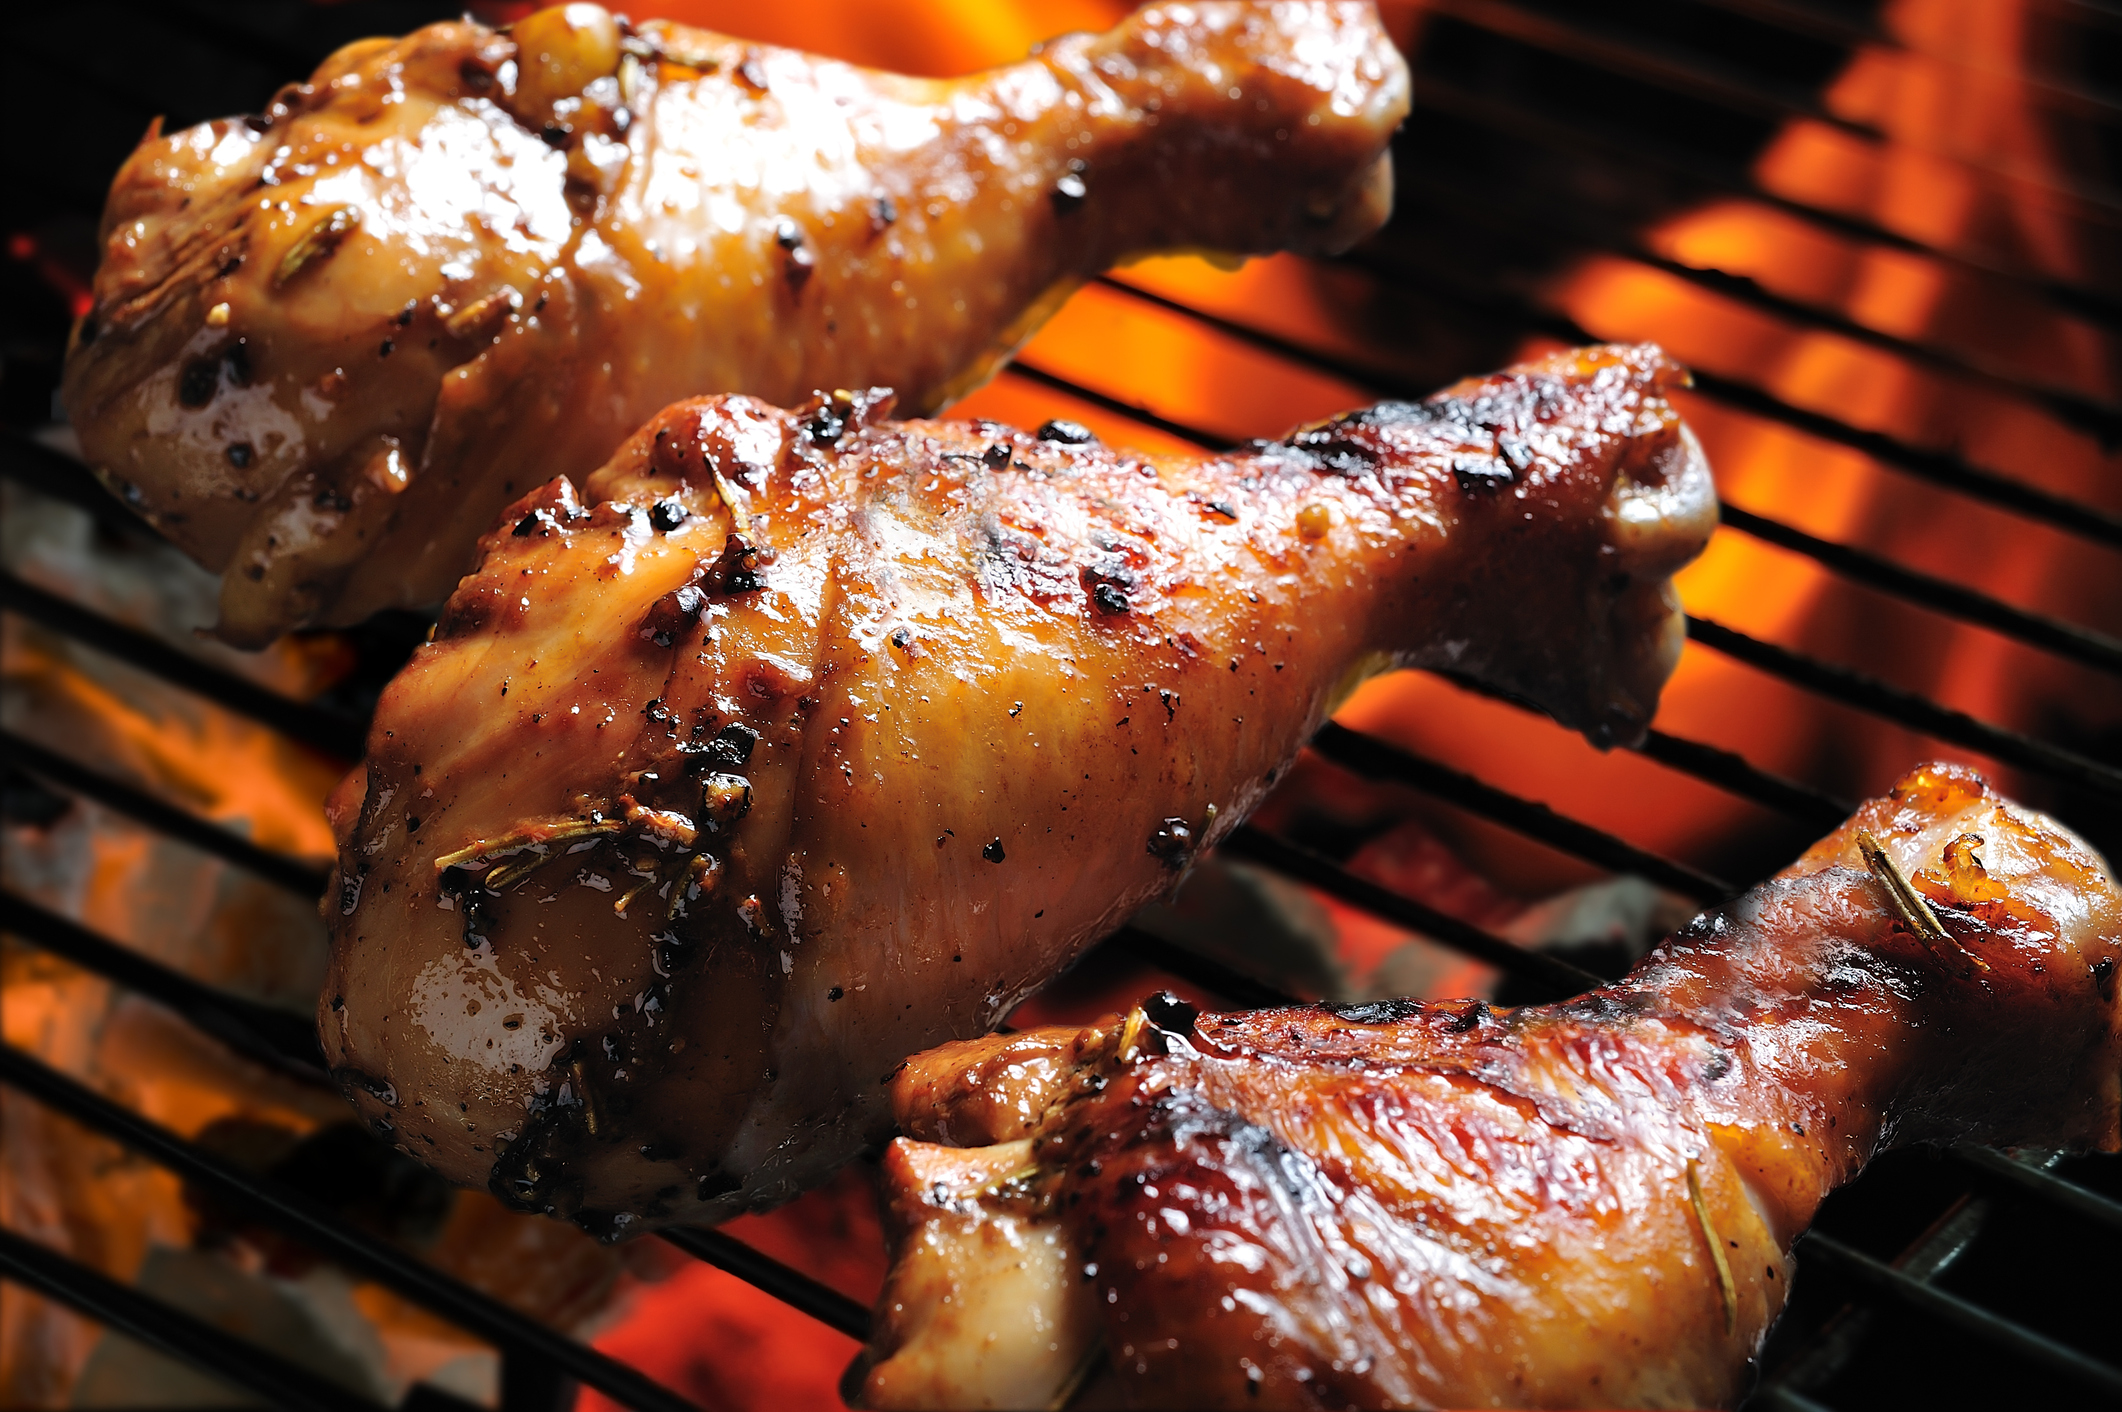
Barbecued chicken, when done well, is a beautiful thing.

But not every Chef puts the time and effort into making their barbecued chicken EVERYTHING it can be.

Some, think it’s all about their award-winning sauce, when, in effect, that’s only the cherry on the sundae.

What makes a truly exceptional barbecued chicken is focusing on the “ice cream”, that is, the chicken.

No matter if you’re grilling OR barbecuing your chicken, it’s important to remember that unlike some barbecued meats, such as beef and pork, chicken contains very little fat within its tissue, to counterbalance the long slow, or fast hot heat required to bring that internal temperature to the magical 165F needed to fully cook it.

It’s no wonder what so many people complain that their barbecued chicken is dry and or tough.

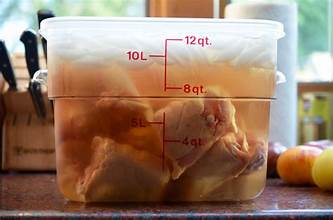
Of course, the first step in making a delicious, mouth-watering, lick your fingers goodness of a great barbecued chicken, is brining.

This super-hydration of the meat in a solution with salt, a bit of sugar and spices, is, perhaps, your best hedge against dry/tough meat in the end.

Everything from here on out is fighting against you, especially intense, dry heat.

The next best step is pre-seasoning.

The Red Goose Spice Company makes a number of delicious seasoning blends which you can consider, one, being our popular Barbecue Seasoning Rub.

Our recommendation here is to apply is rather liberally and then, allow the chicken pieces to “marinate” for at least 3 to 4 hours in this rub. You may even consider tossing in a bit of oil to this during this time. Not much however, just enough for that bit of oil, plus the juices which will be emitted from the chicken, to give each piece a wet coating.

Again, allow this flavoring to macerate and do its thing.

If you’re wanting to give your chicken a bit of light smoke, do it after this initial marination.

On to cooking.

If you’re smoking your chicken first, in a hot smoker, then your chicken is likely nearly, if not fully cooked through at this point. From there, you can finish the chicken on a rather hot grill, basting your sauce on as you go.

If, however, you’ve smoke them a shorter period of time, in a lower temperature smoker perhaps, then you would want to also set up your finishing grill on a lower temperature, (initially), and without basting them with sauce at first.

Then, once they’re fully cooked, raise the temperature of the grill, and finishing them with your barbecue sauce basting.

If smoking is not part of your method, after brining and then the wet rub marination, all of the initial cooking (from the raw state), can be done either in an oven, or, by Sous Vide if you’re really able to, or, on the grill itself, if it’s set on a low enough temperature at first.

However, barbecuing chicken, from a raw state, from beginning to end on the grill, is, perhaps, the trickiest method, and especially challenging if you’re also cooking for a large group and, on a tight schedule.

One other consideration, is your sauce of choice.

Very sweet barbecue sauces will caramelize/burn on your chicken a bit faster than sauces which are more vinegary and less sweet. That will, with your regulation of the intensity of the heat below, determine when to begin the application of sauce, with sweeter sauces being basted on later in the cooking process.

The end goal, is a piece of barbecued chicken which is both moist and flavorful.

Red Goose Spice, and their parent company Asmus Seasonings, can supply you with choices of both brine mixes as well as a number of barbecue seasonings, for you to choose from to help you make your barbecued chicken EVERYTHING it can be this summer.

Au Gratin Never Tasted SO Good!

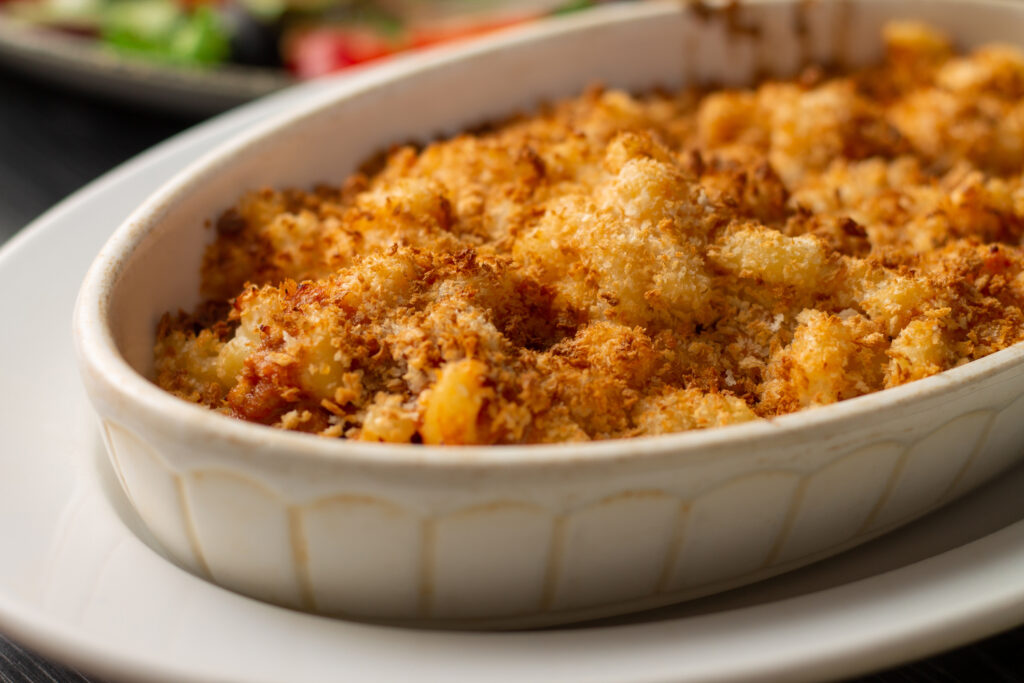
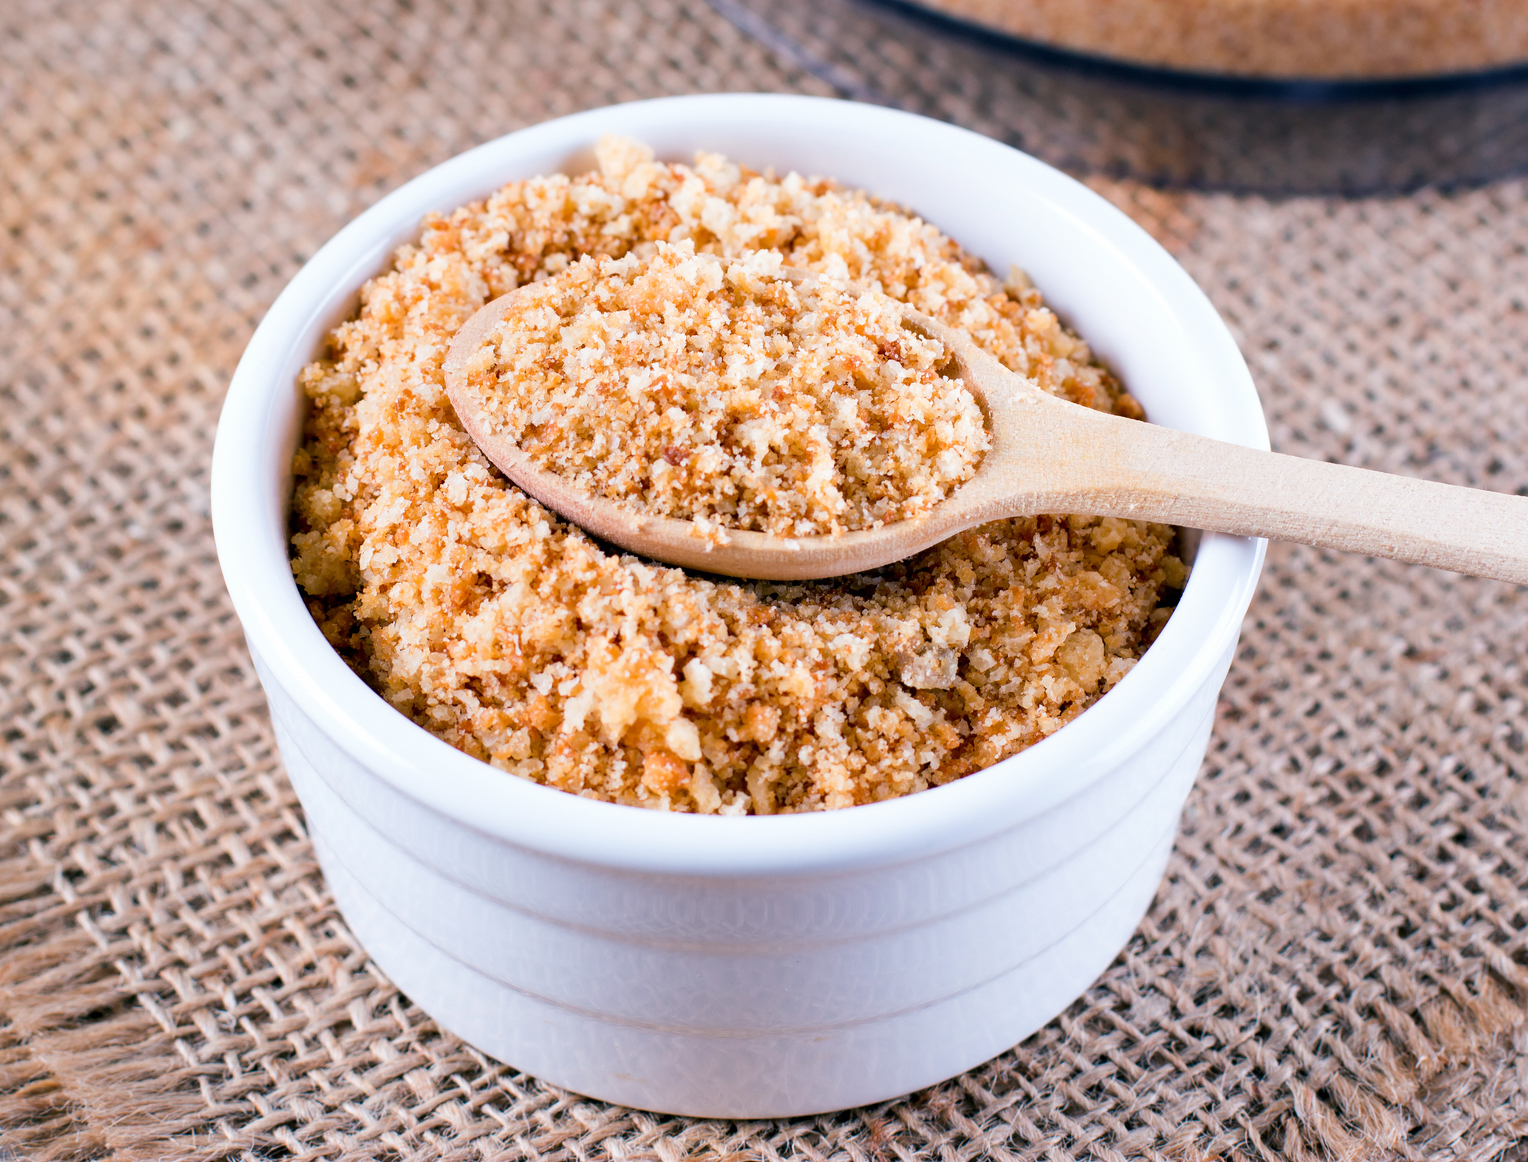
Bread crumbs aren’t just bread crumbs anymore, in fact, bread crumbs offer the Chef many opportunities to add a “gratin of greatness” to your dishes.


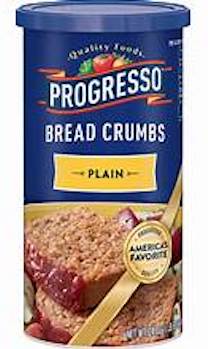
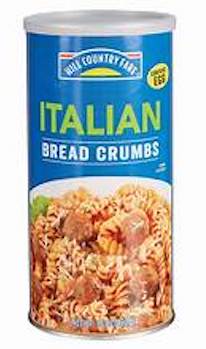
Most Chefs think of bread crumbs as either Plain, Italian or “Japanese” Panko. And their uses, as either a filler (crab cakes or meatloaf for instance), a thickener, usually in soups, such as the classic Tuscan soups Ribolitta and Pappa al Pomodoro, and, of course, as a topping or gratin on casserole dishes, roasted vegetables and pasta dishes.

The classis Gremolata is a perfect example of this.

But as far as the flavorings that are added to bread crumbs, beyond an oil or butter, Chefs usually stick to Italian herbs, garlic, grated cheese, pepper and occasionally, lemon zest.

And that’s all fine and good. Those flavors are amazing.

But there are others, and it’s sometimes the road less traveled makes all the difference in your cuisine.

With that thought in mind, we thought we’d explore that road less traveled to give you a glimpse of some of the ways you might consider your bread crumbs, as an opportunity for creative expression.

All of the suggestions below can be created using plain bread crumbs or plain panko crumbs.

As far as the exact proportions of bread crumbs to spices or to other ingredients, our suggestions are simply a starting point and should be adjusted you your taste so that they appropriately complement whatever product/s that you may be using them with.

For a baseline, we’ll presume approximately 2 cups of bread crumbs as your base and either clarified butter or an oil of your choice, to moisten your crumbs before adding the following:

  • ¼ cup of Peanut Butter Powder or ½ cup of Ground Pistachio Nuts make an interesting gratin over some Thai or Indian inspired casserole dishes or even a chocolate custard with a gratin.
  • 2 cups Shredded Sweetened Coconut. Is a typical coconut mixture used for Coconut Shrimp in a standard breading procedure.
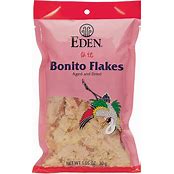
  • 3 TBSP Anchovy, or ¼ cup Katsuobushi /Dried Bonito Flakes or ½ cup Flaked Smoked (Whitefish). Fish are all an unusual but imaginative gratin over seafood pasta dishes. If using the Bonito, a splash of soy sauce and a drizzle is sesame oil in the bread crumbs is a consideration.

  • 1/3 cup Curry Powder in your bread crumbs can be an excellent topping over everything from pasta dishes to a crust on chicken, lamb, pork, beef…you name it. Also as used in a 3-stage standard breading procedure.
  • ¼ cup Chili Powder with ¼ cup Cumin (and Chipotle Powder or Cayenne as desired for some smoke and heat), creates a wonderful Southwest gratin or coating over so many dishes.
  • 1/3 cup Barbecue Seasoning/Rub added to your bread crumbs can be a unique and delicious gratin over a casserole of pulled chicken, black beans, peppers and onions.
  • 1 tablespoon each of freshly grated Orange, Lemon and Lime Zest can be a show stopping crust on grilled or pan-seared fish and complements them beautifully . A pinch or so of Old Bay Seasoning is also a nice touch. We recommend panko crumbs for this one.
  • 2 tbsp Dark Cocoa with 2 tbsp Light Brown Sugar and 1 tsp of Cinnamon as an alternative topping to a Brule when lightly broiled over a vanilla or caramel custard.

The delightful crunch of a flavored bread crumb topping can be one more tool in the Chef’s culinary tool box to help create memorable dishes.

The Red Goose Spice company has all the herb, spice and flavoring essentials to help you turn your inspiration and imagination, into plated realities.

Saffron Alternatives

Let’s begin by stating the obvious.

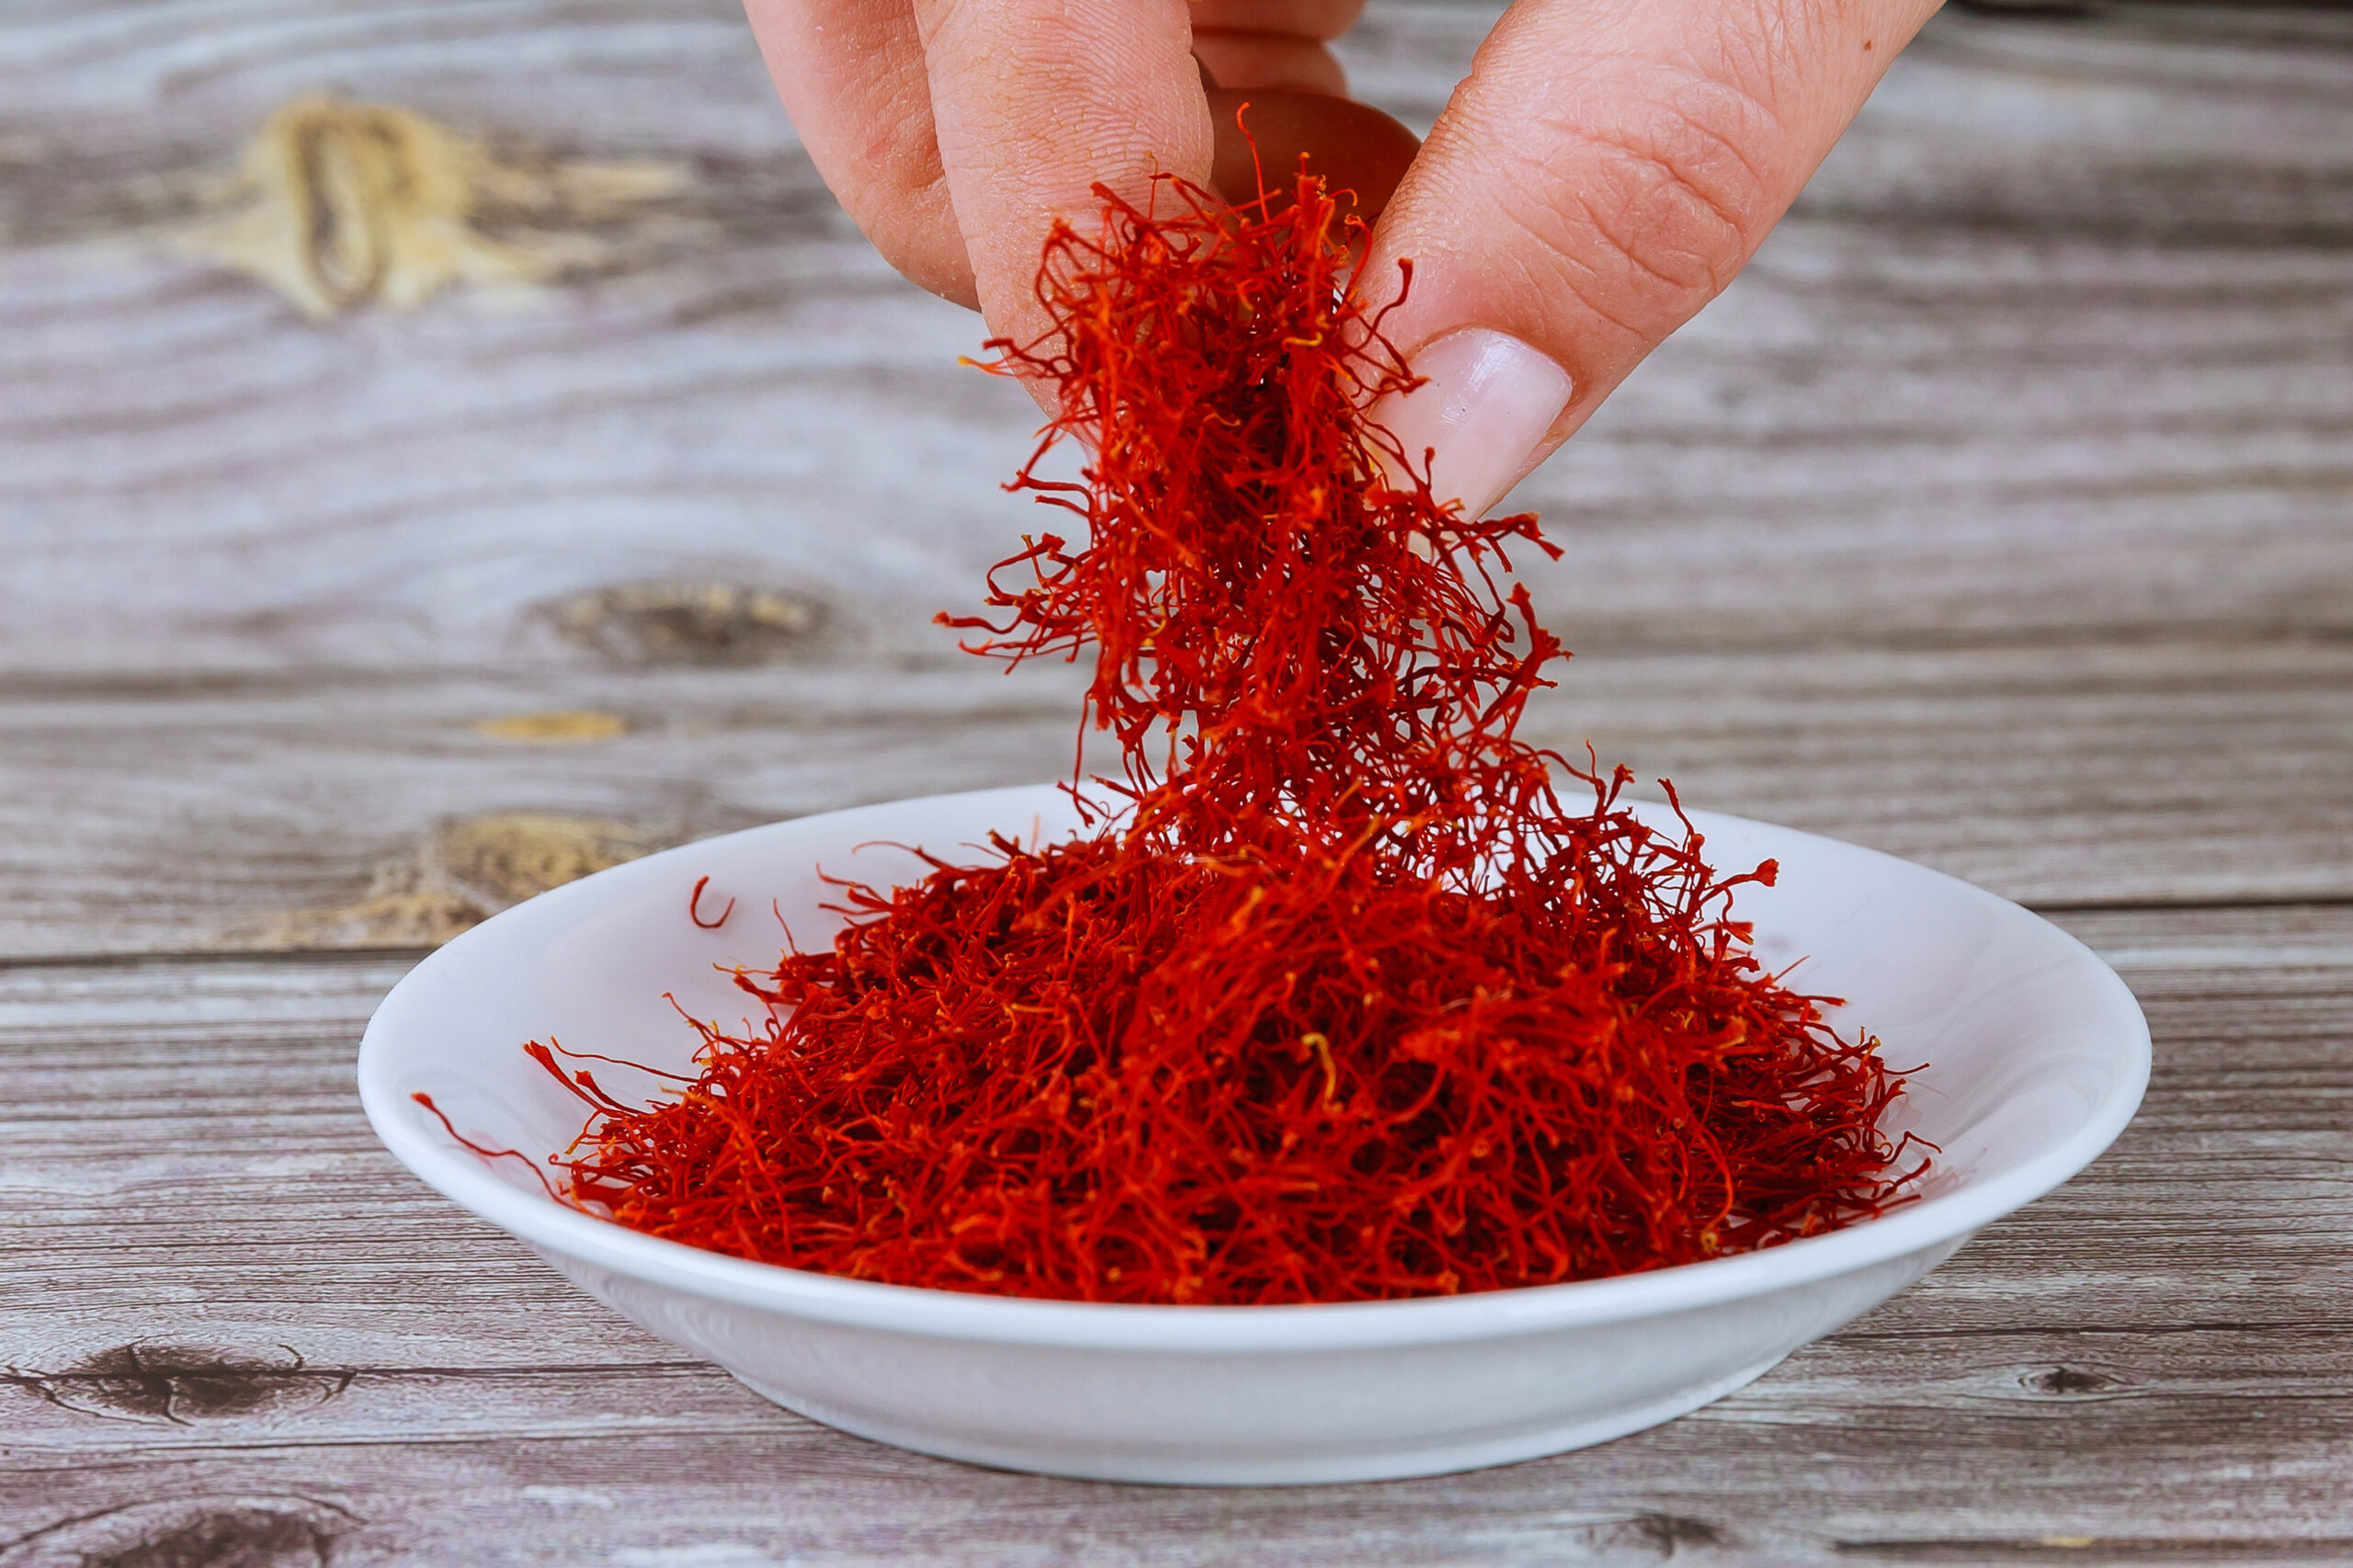
First, saffron is a wholly unique spice. Nothing tastes “quite” like it and nothing has quite it’s earthy aroma.

On the downside however, it’s also, pound for pound, the most expensive spice in the world.

So expensive that in many kitchens, it’s quite often locked up in one of the Chef’s desk drawers.

And while a little goes a long way, it’s still an expensive proposition when choosing whether you’re or not to prepare an item on your menu that uses it.

The Red Goose Spice Company does of course carry a fine Saffron.

The good stuff.

But we also have some suggestions for you to consider in the event you want to either “stretch” the contribution your saffron makes to a particular recipe, OR, to simply use some recommended “alternative spices” to “imitate” saffron while neither suggesting it, or naming it, as an ingredient on your menu’s offerings.

For instance, just as some Chefs use a fortified stock “base” to enrichen a house made “scratch” stock, or a mid to low-priced wine to add to a braised meat dish instead of a higher priced vintage wine, or using dried herbs versus using fresh herbs, these alternative saffron “options”, offer a Chef multiple choices depending on the intended use and final intended outcome.

First, a short dissertation on saffron itself.

Coming from the Persian word zarparan, which translates into “gold strung”, saffron is a gold to crimson colored stamen of a flower, specifically a Crocus flower.

These stamens are harvested, dried and used for flavor, color and aroma in many dishes.

Although many if not most Chefs believe (or prefer) Spanish saffron in their kitchen, Iran produces the vast majority of saffron in the world.

Saffron’s high cost is due in part to the tremendous amount of labor that it takes to harvest it. It takes approximately 200 thousand stigmas from about 70,000 crocus flowers to yield 1 pound of saffron.

Not all saffron is the same quality or strength. It is graded and classified by quality, color and style, (more red is better).

As mentioned, the crème de la crème of saffron is generally considered to be the Spanish-grown La Mancha saffron, which has PDO protected status which is displayed on the product packaging.

Back to our earlier message regarding alternative spices which can be used to supplement or replace saffron in certain recipes, we emphasize that these suggestions cannot fully replicate saffron’s flavor but rather its appearance, color and a to some degree, its aroma.

They are:

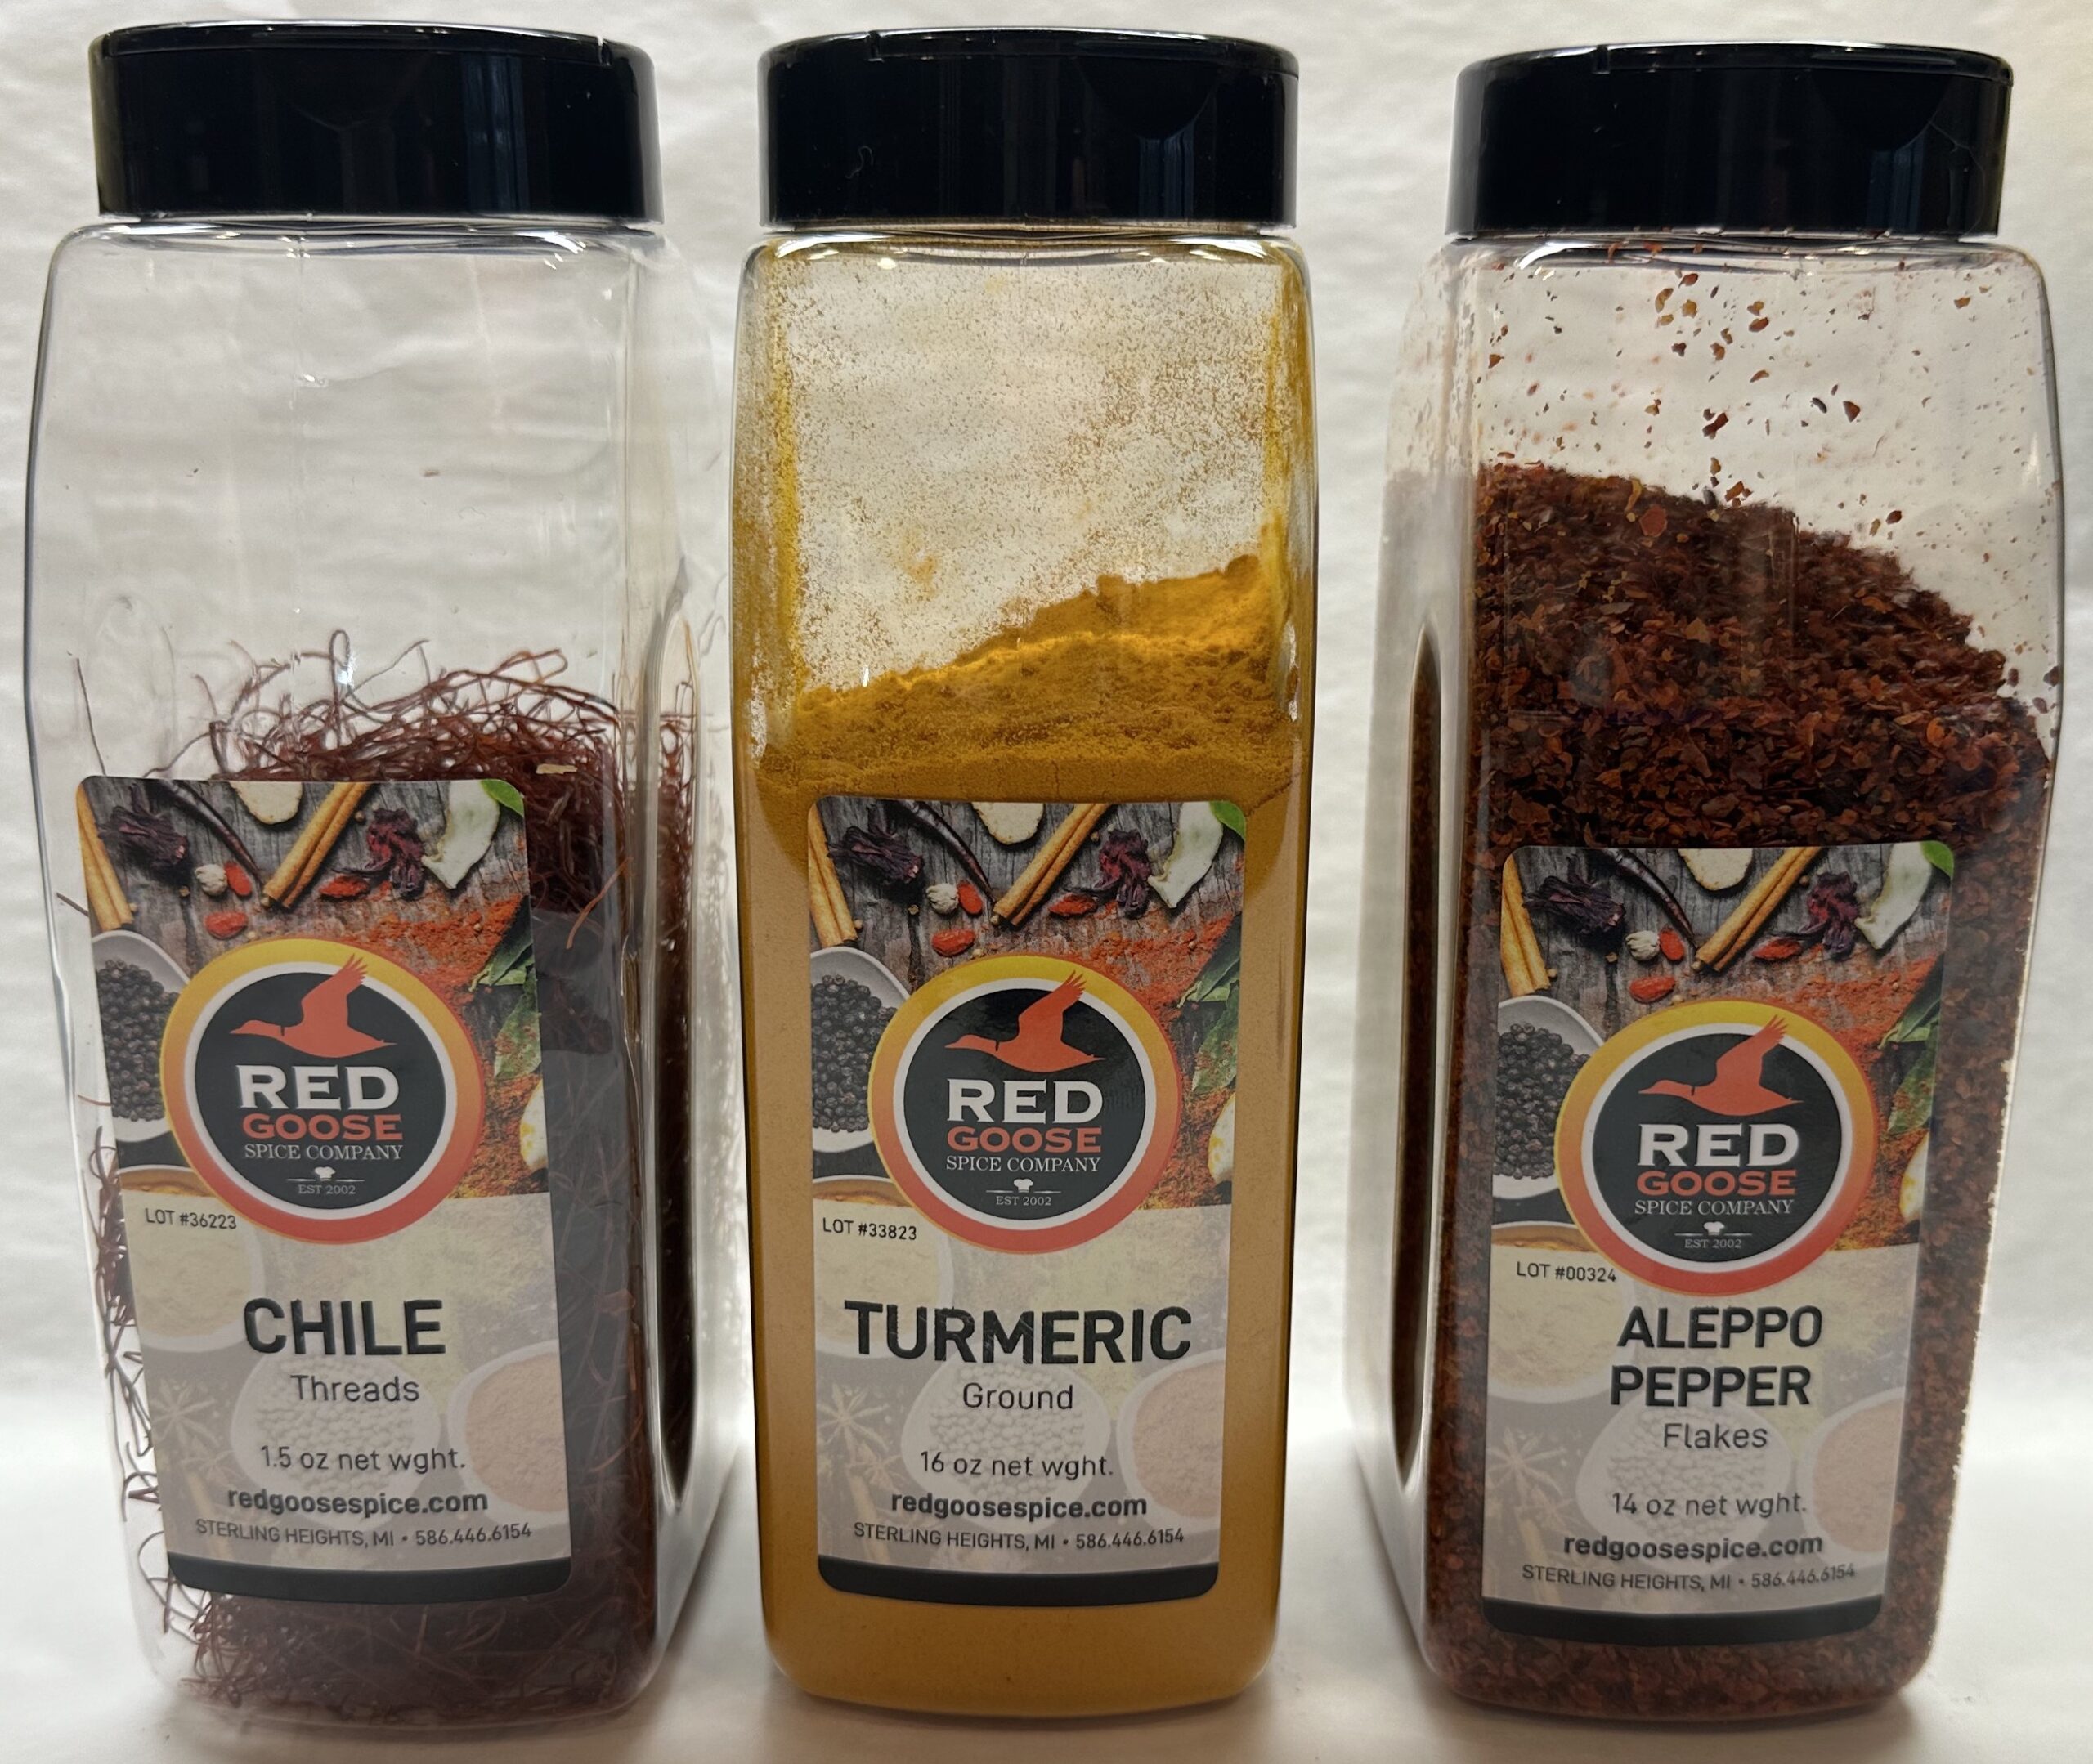
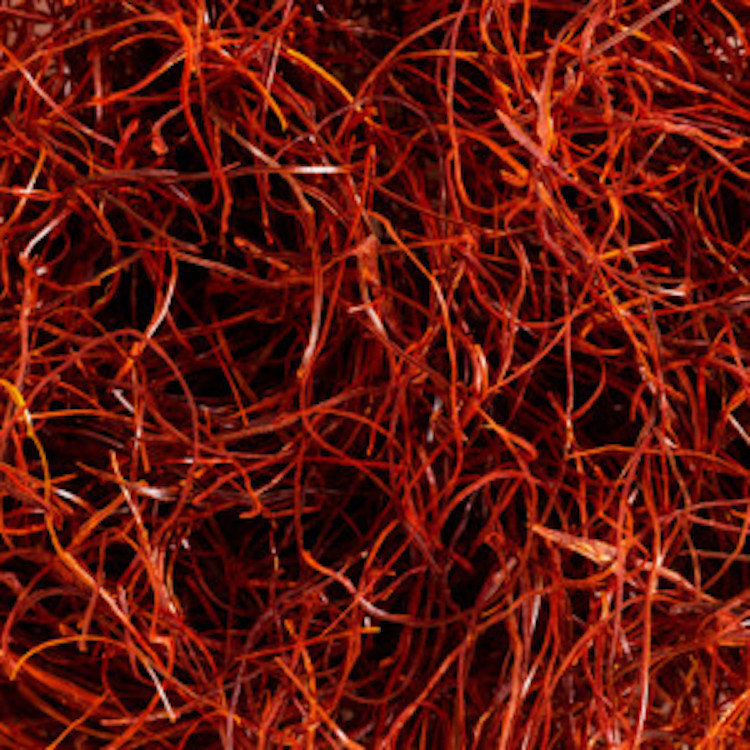
Chili Threads: These slender, thread-like strands of red chili peppers, look nearly indistinguishable from saffron at first glance. They can be used in the same way and in the same dishes that saffron is used. Chili thread’s aroma is earthy and, as you would expect, has a faint aroma of dried chilis. It casts a slight orangish tint to dishes it is used in (such as rice), and, after cooking, its thread shape is reminiscent of saffron.

Turmeric: Often used in curries, in this scenario, turmeric is used primarily for its color. It also adds a slightly woody, slightly warm, bitter, black pepper-like flavor and an earthy, mustard-like aroma. In combination with Chili threads, these 2 spices alone get you in the saffron ball park.

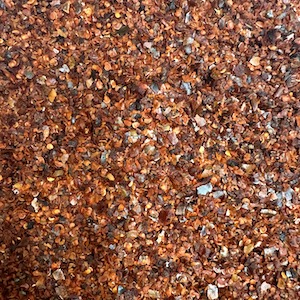
Aleppo Pepper Flakes: Also known as the Halaby chile pepper, it’s named after the Syrian city of Aleppois.

These deep red, mild chili flakes have quite a complex flavor which most describe as slightly fruity, tangy, with hints of raisin, citrus with some background suggestions of tomato.

Similar to the preceding 2 spices, Aleppo Pepper Flakes have a earthiness and a slightly roasted taste.

It does have some heat, but at about 10,000 Scoville Units, it comes in just a bit towards the higher end of jalapenos so use it to add a bit more complexity to your blend, but sparingly, unless you’re wanting the heat to be predominant.

These 3 spices can give you a new opportunities for flavor expressions in many of your existing and possibly some new dishes on your menus.

There is no real blend recipe for these 3 aforementioned spices which can be used to imitate some of saffron signature flavors, colors and aroma. Much of that depends on the specific dish you may be using it in.

Dishes with seafood, tomatoes, wine and other aromatics, can be good opportunities for this experimentation.

One of the classic dishes in the French repertoire is Bouillabaisse from theMarseilles region. This “peasant style” fish and shellfish stew feature the catch of the day and usually contains local “fin fish”, some mollusks and crustaceans.

All swimming in a hearty broth of saffron accented tomatoes, garlic and other ingredients.

Here is a recipe which we hope you’ll enjoy. It can be adapted to be a Bouillabaisse broth-like base for whatever fish and seafood you care to bathe in it.

Mediterranean Style Seafood Sauce / Broth

Yield 1 Quart

½ cup       Vidalia Onion, 1/4″ Diced

1 tablespoon    Garlic, Fresh, Minced

1 tablespoon    Ex. Virgin Olive oil

¼ cup       Green Bell Peppers, Finely chopped

¼ cup       Red Bell Peppers, Fine Chopped

4 oz           Calamari, Finely Chopped

2 oz           Shrimp Peeled & De-veined, Fine Chopped

2 oz           Bay Scallops, Fine Chopped

3 cups      Diced, Canned Tomatoes

2 tablespoons           Tomato Paste

½ cup       Lobster or Seafood Stock (Strong)

¼ cup       Red Wine

3 or 4        Saffron Threads

OR   10 Chili Threads

         ½ teaspoon  Turmeric

         ¼ teaspoon  Aleppo Pepper

¼ tsp        Oregano, Dry

1 tablespoon    Brown Sugar

¾ tsp        Parsley Flakes, Dry

  1. Heat olive oil in sauce pot.
  2. Add onion, then peppers and garlic and sauté on medium heat until softened and transparent.
  3. Add minced calamari, shrimp and scallops and sauté until cooked and opaque.
  4. Add all remaining ingredients. Simmer on low heat for 2 to 3 hours.
  5. Add additional stock as necessary to adjust consistency.
  6. Adjust seasonings (Salt & Pepper, etc.) as necessary to taste.