Tracing the origins of the hamburger, leads you in so many different directions that it’s really hard to determine exactly who’s responsible and when or where it really happened.
Was it Delmonico’s in New York in 1834? Fletcher Davis in Texas or Charlie Nagreen in Wisconsin in 1885? Otto Kuase or Oscar Weber Bilby in Germany in1891.
And no doubt, anyone under 50 might just think it was Big Boy or the McDonald brothers.
In truth, the closest to a “modern-day” hamburger invention claim would have to be White Castle in 1921.
However, or where ever hamburgers were “invented”, they have since become THE most iconic American meal…ever.
Of course, everything evolves or, is reshaped to suit a new dining audience.
What began as a version of a chopped Salisbury steak somewhere, later became a burger on a bun, and then, beef patties became chicken and turkey burgers.
Today, even the meat itself is gone, in favor of a flavored vegetable protein.
Through all this change, after all this time, one thing the burger chains haven’t really capitalized on are turkey and chicken burgers.
Fried chicken on a bun, yes, in a BIG way.
But grilled chicken burgers on a bun. Nope, (unless you call a heavily-breaded deep-fried patty an actual burger.)
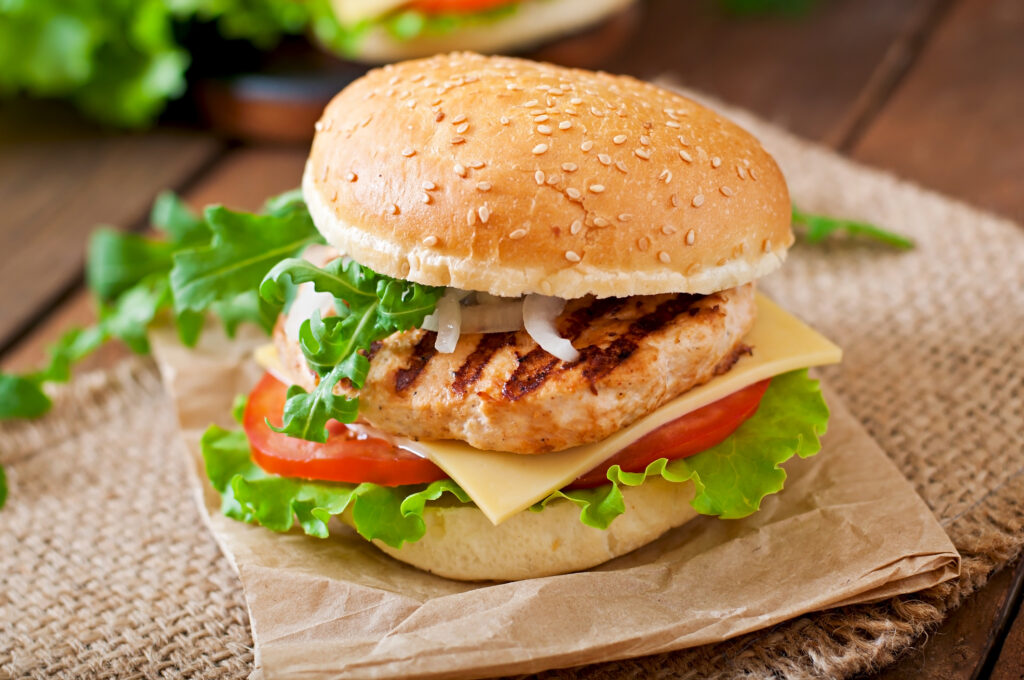
So, that leaves it up to the independents, and to Chef’s in restaurants, clubs, resorts or similar venues, to pick up the poultry torch and bring to America a truly outstanding turkey or chicken burger.
Flavorful, not bland. Juicy not dry. Not heavily breaded then deep-fried but rather, grilled or pan-seared.
There are challenges. Both turkey and chicken are pretty darn lean, which is good, and bad.
Good, because it’s one of their virtues is that they’re low fat and healthy, bad because it can make them dry and more difficult to form into a patty that actually holds its shape, and that doesn’t stick to the grill.
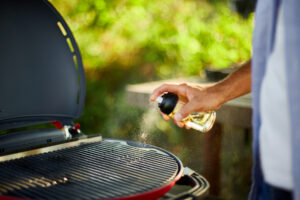
That however, can be overcome by hard-chilling your patties and using a vegetable spray on your grill before placing the patty on it.
Turkey and chicken burgers can be as simple as ground meat with salt and pepper, Unfortunately, they would likely be dry, lack flavor and, unless pan-seared, not hold their shape very well.
To solve that, you need to minimally do a few things.
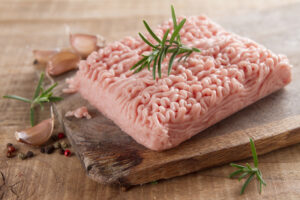
- Start with a mixture of both white and dark meat which is patted dry. A small amount of clean turkey or chicken fat is ok.
- Grind it with a normal 1/8” die so that it will bind together when formed.
- Adding both egg and panko can assist in the binding and also add moisture.
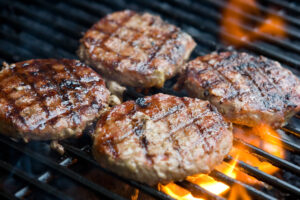
- If grilled, it’s best for the patties to be minimally hard-chilled or frozen. If pan-seared, a fresh patty is preferred.
We’d like to share with you 2 delicious and very healthy recipes which go beyond the simple meat with seasonings.
Both of these recipes can be made with either ground turkey OR chicken.
Each recipe starts with 10 pounds of ground meat.
Turkey or Chicken Burgers with Zucchini and Ricotta
Makes about 4 dozen 8-ounce burgers
10 pounds Ground Turkey or Chicken
2 ½ cups Whole Milk Ricotta Cheese
¾ cup Grated Parmesan Cheese
2 quarts Shredded Zucchini (WELL SQUEEZED OF ALL OF ITS JUICES)
¾ cup Minced Green Onion
1 tablespoon Granulated Roast Garlic
2 teaspoons Oregano, Dry
1 teaspoon Thyme, Dry
2 tablespoons Kosher Salt
2 teaspoons Ground Black Pepper
3 extra-large Eggs, Beaten
3 – 4 cups Panko Bread Crumbs
In a large mixing bowl or machine with a paddle attachment, combine all ingredients and mix only until well combined.
Chill to allow the panko crumbs to absorb the juices and moisture from the mix. (Approximately 3 to 4 hours).
Patty, wrap well, and keep chilled or frozen
Greek Mediterranean Turkey or Chicken Burgers
Makes about 4 dozen 8-ounce burgers
10 pounds Ground Turkey or Chicken
2 ½ cups Feta Cheese, Crumbled
2 cups Frozen Spinach, Thawed, Minced and SQUEEZED VERY DRY
1 cup Kalamata Olives, Pitted, Minced, Squeezed dry
1 ½ cups Sun-Dried Tomato, Minced
1 ¼ cup Green Onion, Minced
¼ cup Roasted Garlic, Minced
1 tablespoon Oregano, Dry
2 tablespoons Fresh Rosemary, Minced
2 tablespoons Kosher Salt
2 teaspoons Ground Black Pepper
3 extra-large Eggs, Beaten
3 – 4 cups Panko Bread Crumbs
In a large mixing bowl or machine with a paddle attachment, combine all ingredients and mix only until well combined.
Chill to allow the panko crumbs to absorb the juices and moisture from the mix. (Approximately 3 to 4 hours).
Patty, wrap well, and keep chilled or frozen
We hope that you’ll find these 2 unique burger recipes to complement your summer grill menus and continue the tradition of burger excellence which began somewhere a long time ago.
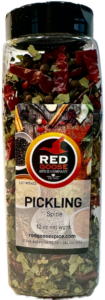
Even poultry burgers can use a great grilling seasoning and the Red Goose Spice Company has an enormous selection to choose from, including some perfectly suited for your beef burgers and steaks.
Give us a call and let us help you select the perfect spices and spice blends to help you showcase your summer grilling creations this season.